
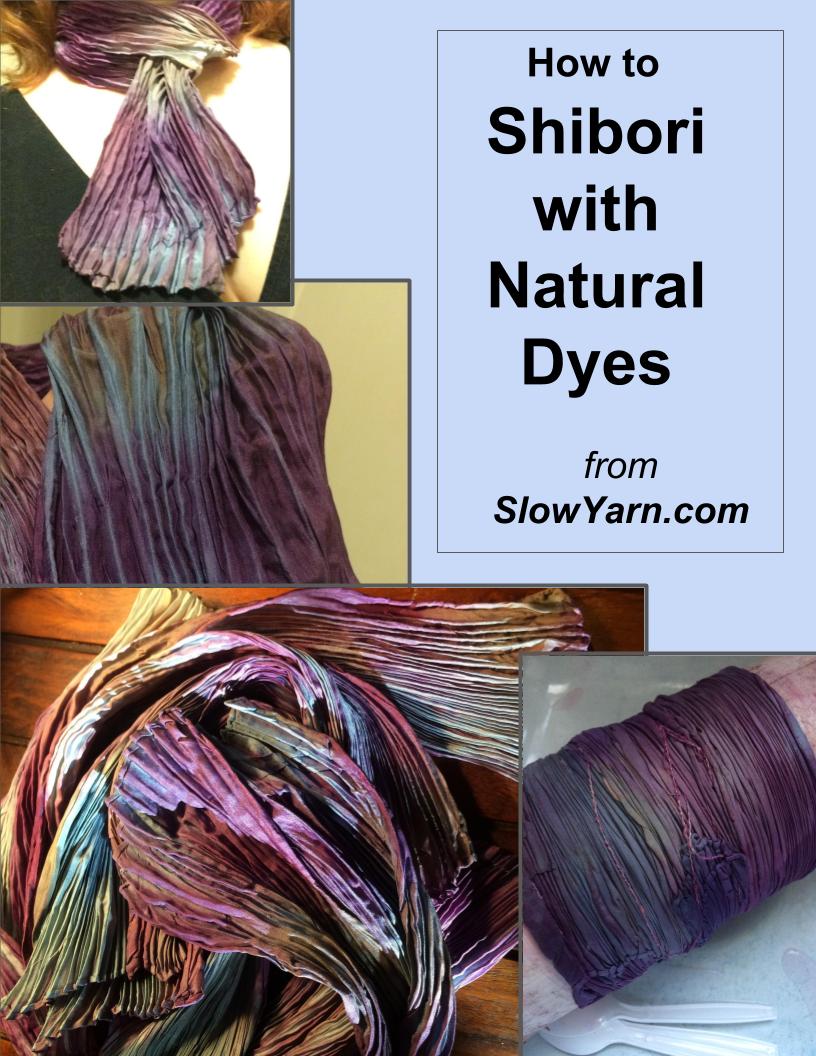
How to Shibori With Natural Dyes
 I’ve been playing. Obsessing, really. I broke out the Indigo and started to experiment this week. I wanted to try the Shibori tie-dyeing process using all natural dyes.
You see, Indigo is kind of messy– at first. Once you make the initial batch, though, the stock can be used again and again before the lovely blue color is exhausted. So I do– use it, again and again, I mean!
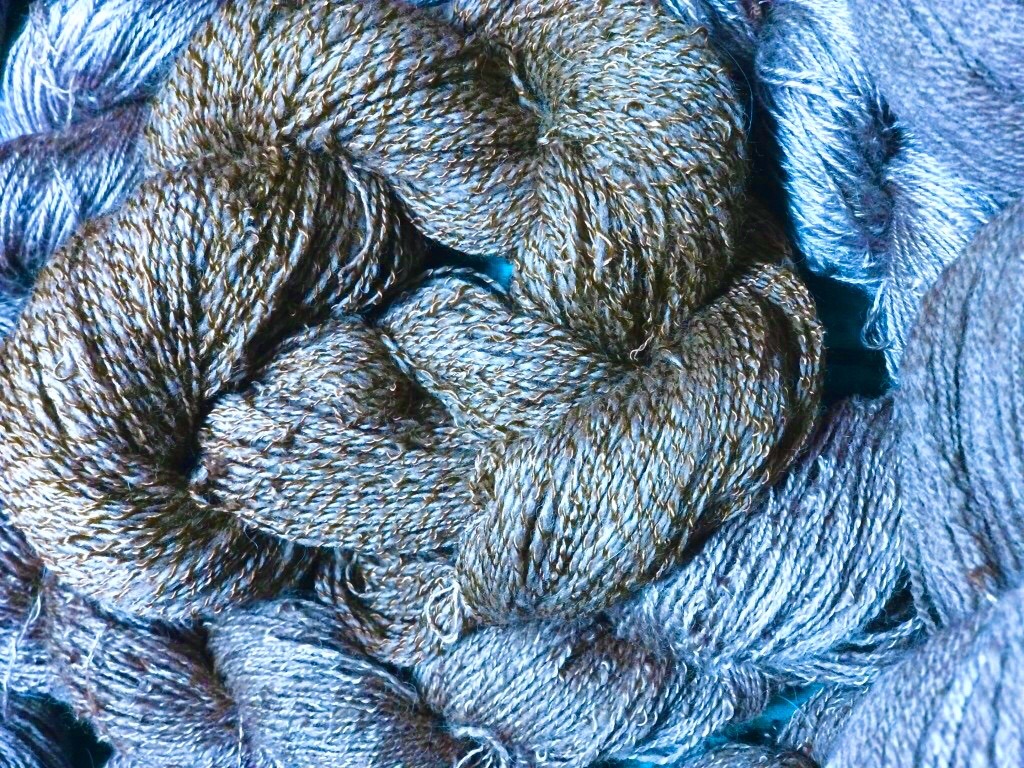
After dyeing a bunch of t-shirts, a few pounds of handspun wool yarn, and overdyeing several eco-printed scarves with my Indigo, I switched to the Shibori project. I dyed a dozen silk scarves, both Crepe de Chine and Habotai with the Indigo into a lovely sky blue. I’m a little lazy about repeated dips, and I don’t like putting silk into the highly alkaline vat for too long, so I rarely go past sky blue with my Indigo dyeing.
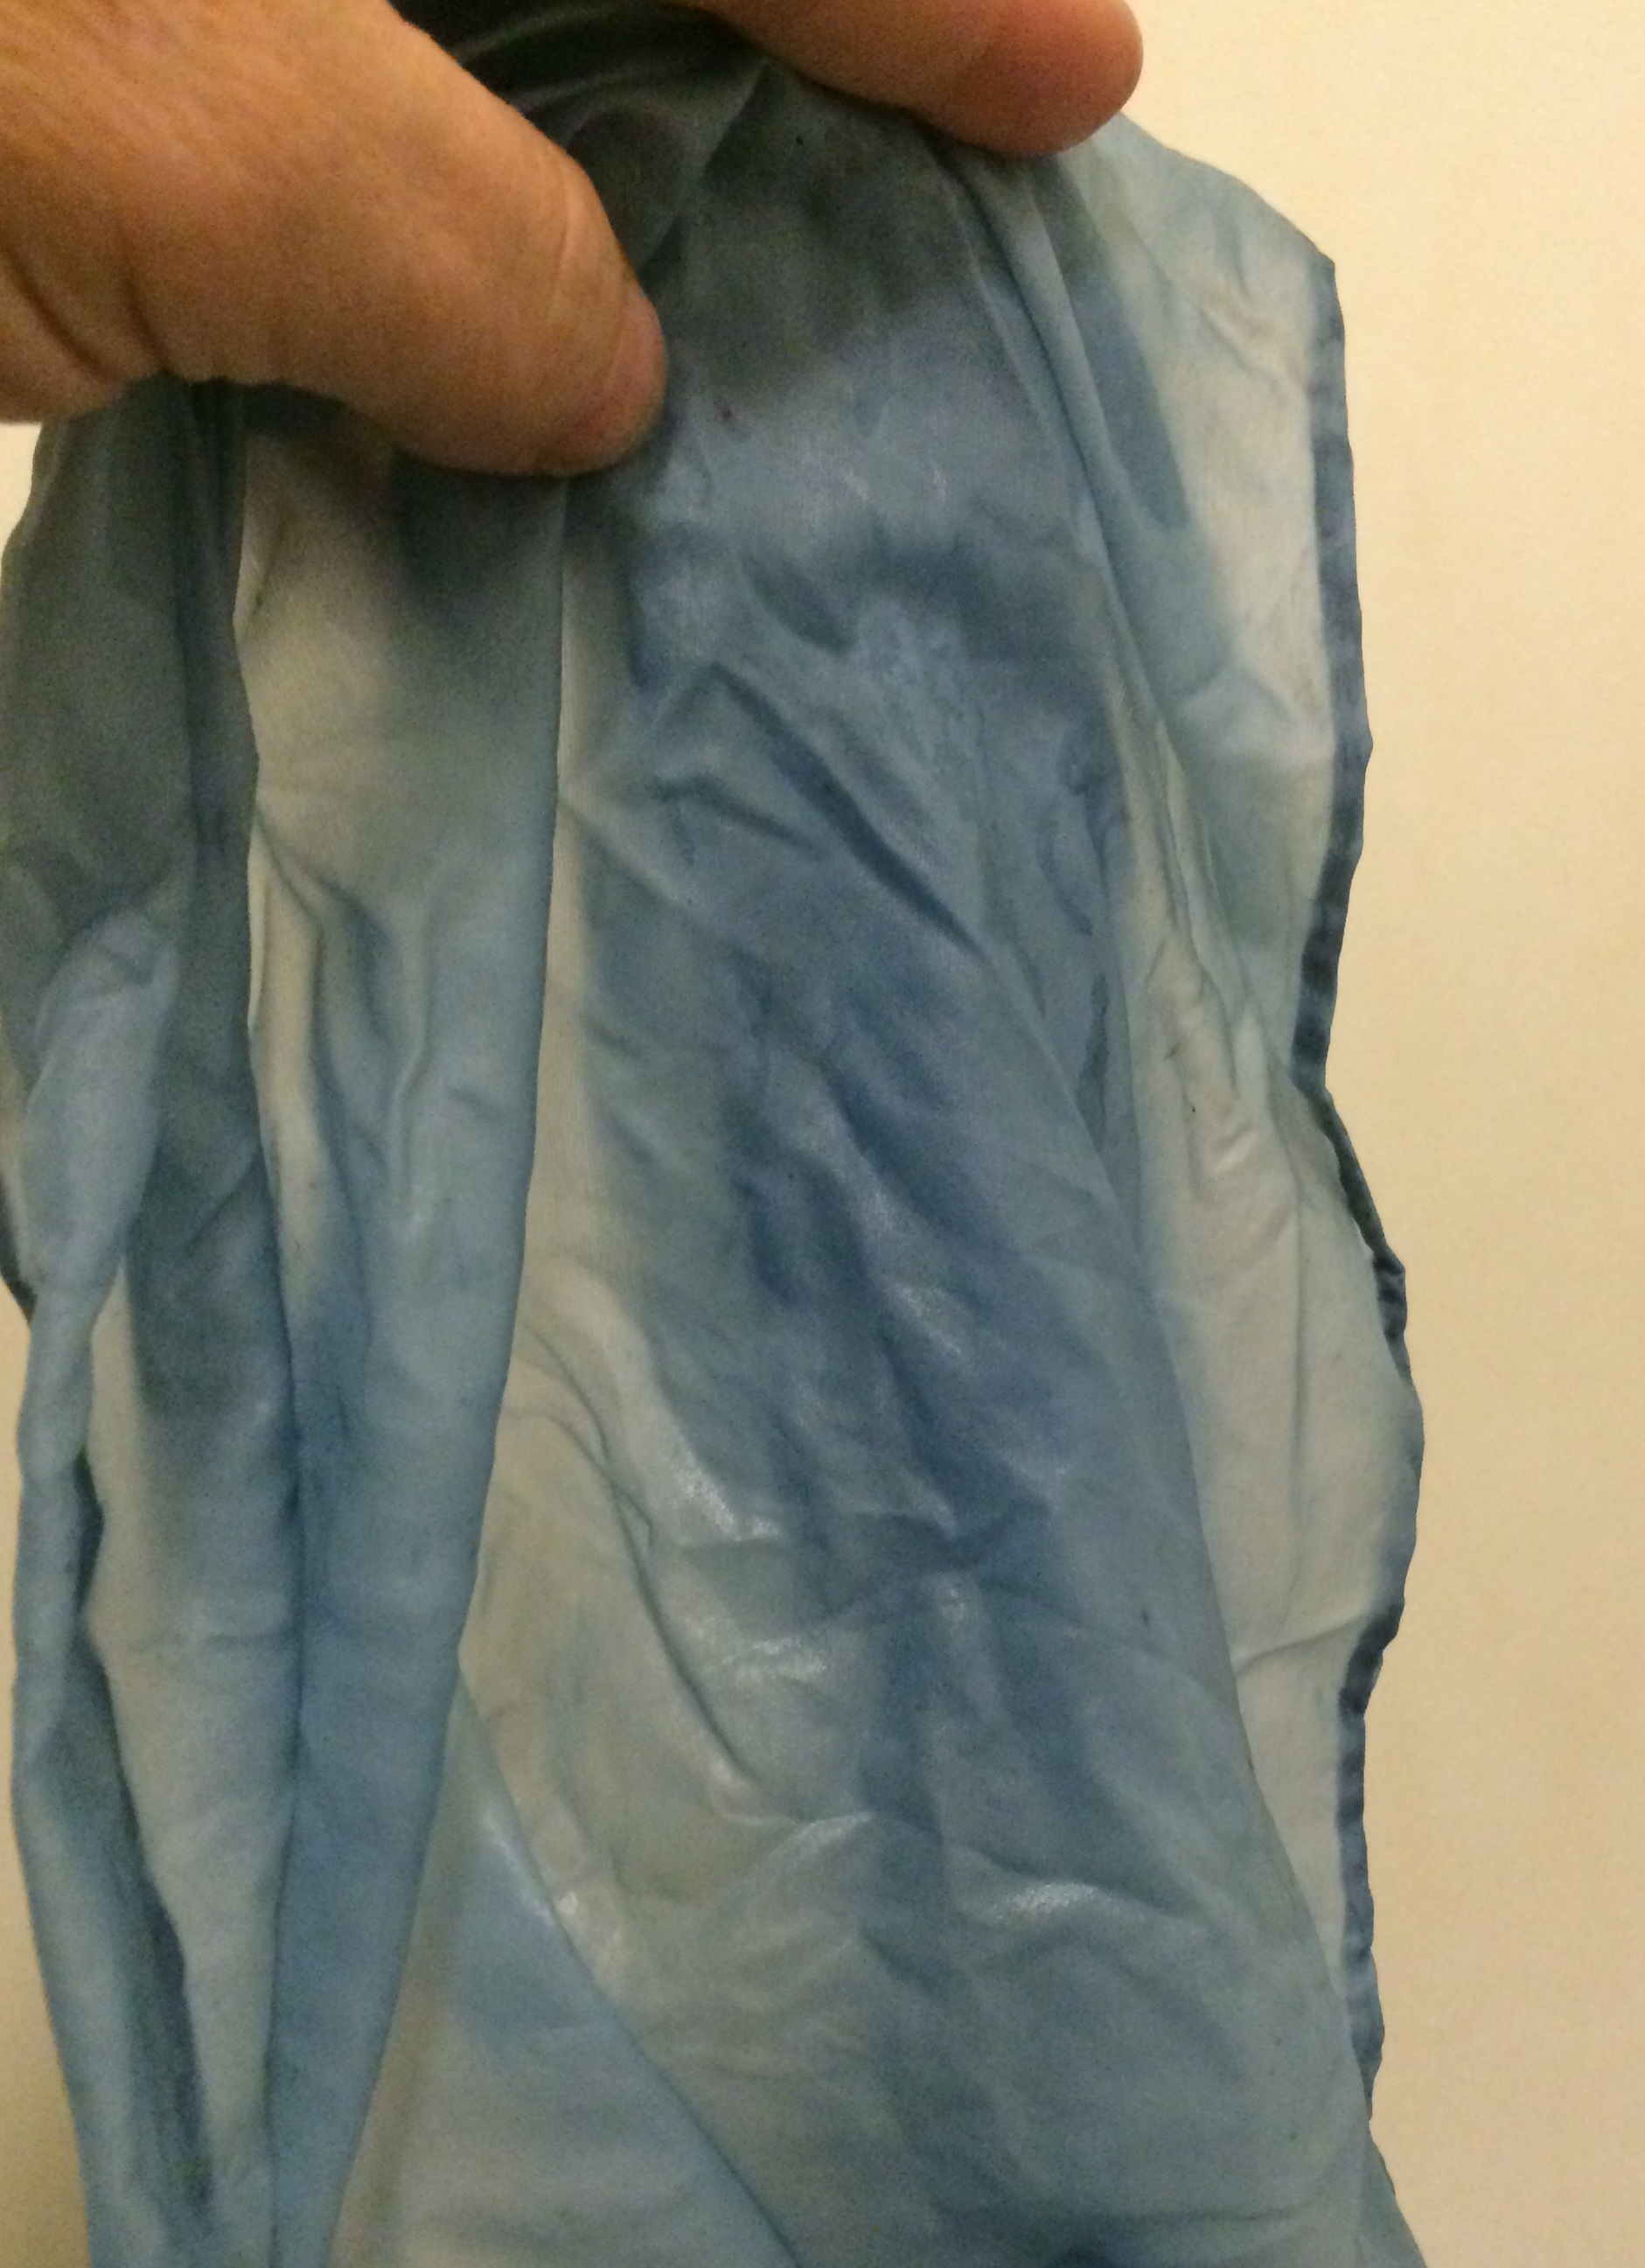
Repeated dips into Indigo make consecutively deeper shades of blue until it is almost black. It’s a magical process, where the fabric lifted out of the Indigo vat is a yellow-green color, becoming turquoise and then a pure, true blue as the liquid drips out and the layer of Indigo is oxidized. Once it is blue, it can be dipped again for another layer of Indigo.
This is a pigment process, rather than a dye, as the color is deposited only on the outside of the exposed fabric and does not penetrate into each fiber. That’s why blue jeans fade the way they do, where the exposed part gets lighter, but the protected crevasses stay dark blue.
I washed the scarves carefully with detergent and a vinegar rinse to counteract the alkalinity of the Indigo vat before I proceeded. Also, Indigo stinks. I didn’t mention that before, so as not to seem discouraging. But it does. Stink. The smell washes out.
Because I wanted to dye using natural dye extracts, I needed a mordant before I dyed further. I simmered my light blue silk scarves in an Aluminium Sulfate bath for about an hour to help the dyes “bite” the cloth. Also, this process is one more step between your finished scarf and the smell of the indigo.
The next step was to mix my natural dyes with water. I use little 2oz. ramekins for this, like the little things you get ketchup in or sauces to take home when you’re at a restaurant. They have tight fitting lids for saving extra if I don’t finish using all of the mixed dyes immediately.
For this project I chose:

- Cochineal
- Madder
- Quebracho Red
- and Cutch ( I wanted Fustic or Osage Orange for the yellow, but I couldn’t find it right away. I’m not unhappy with the results I got with Cutch!)

 .
. 
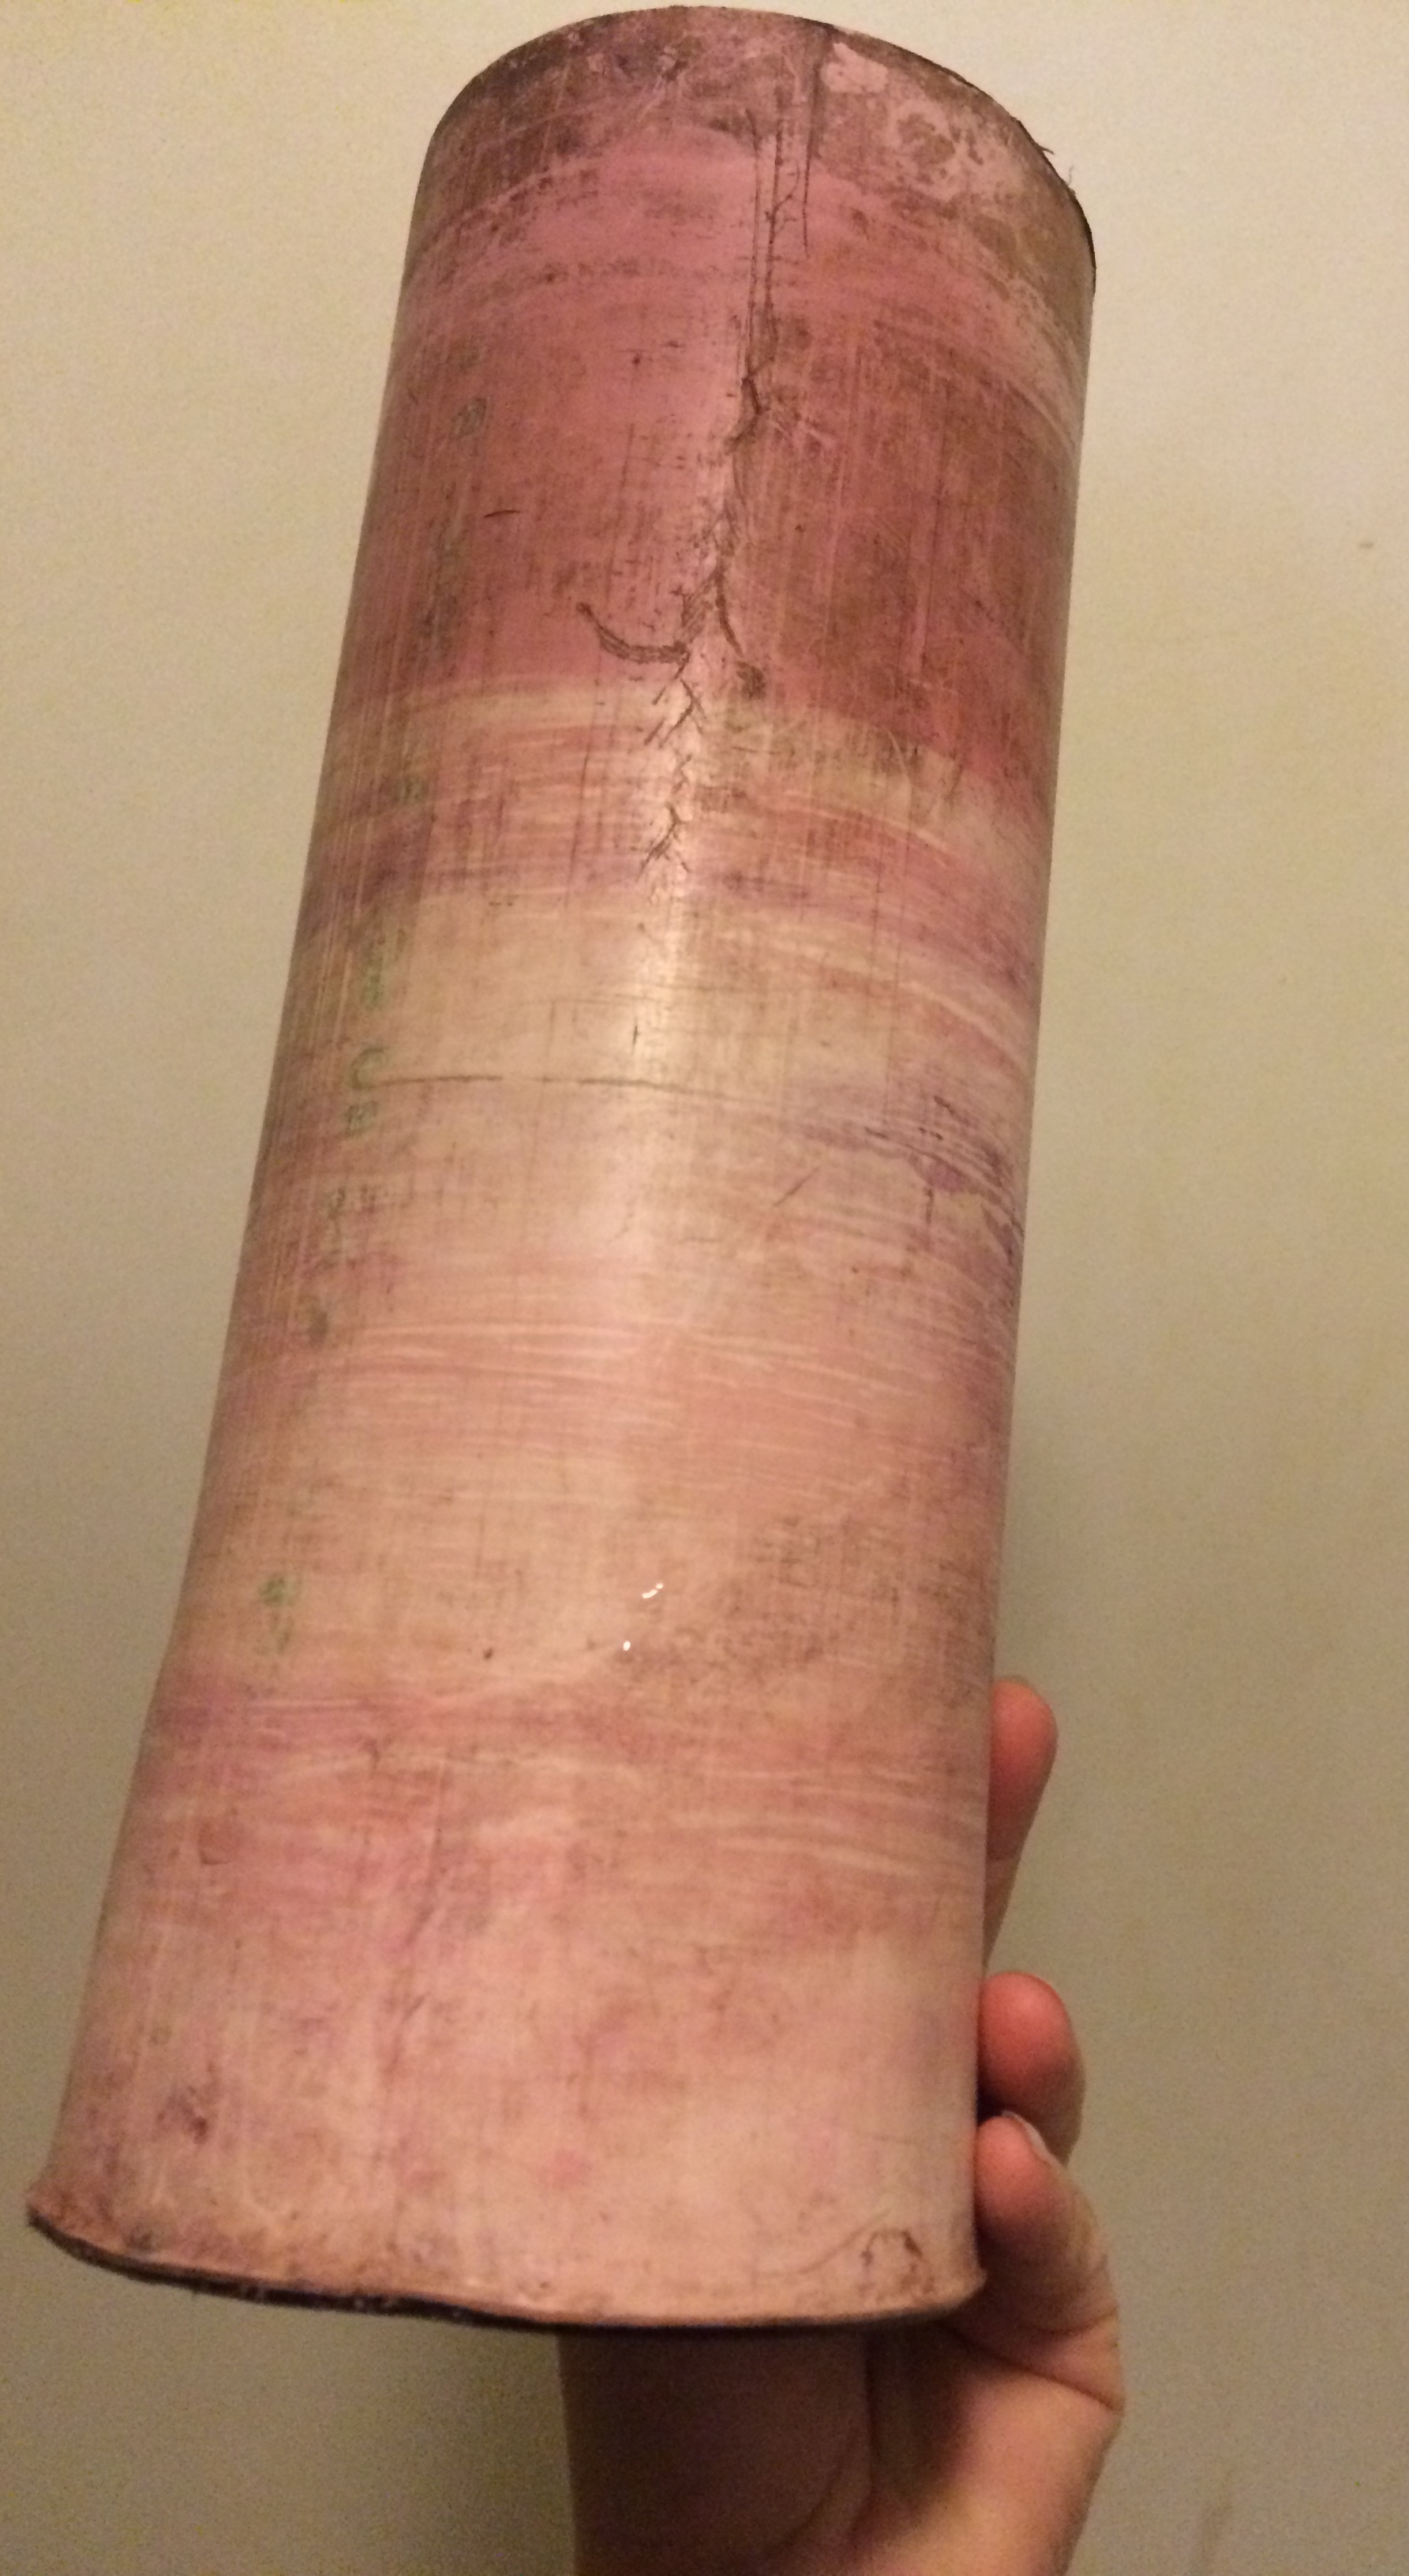
The next step in my Shibori scarf dyeing was to bind the damp silk onto a segment of PVC pipe I keep for this purpose. It’s a little bit ugly by now, but I like to think of the staining as battle scars, kind of like my stretch marks. (Which, thankfully, are not purple but just as stripey.)
 I like to fold the scarf in half before I bind it onto the pipe. I like how the midway fold opens like a seashell in the middle after the process is done, so the ends can tuck through and fan
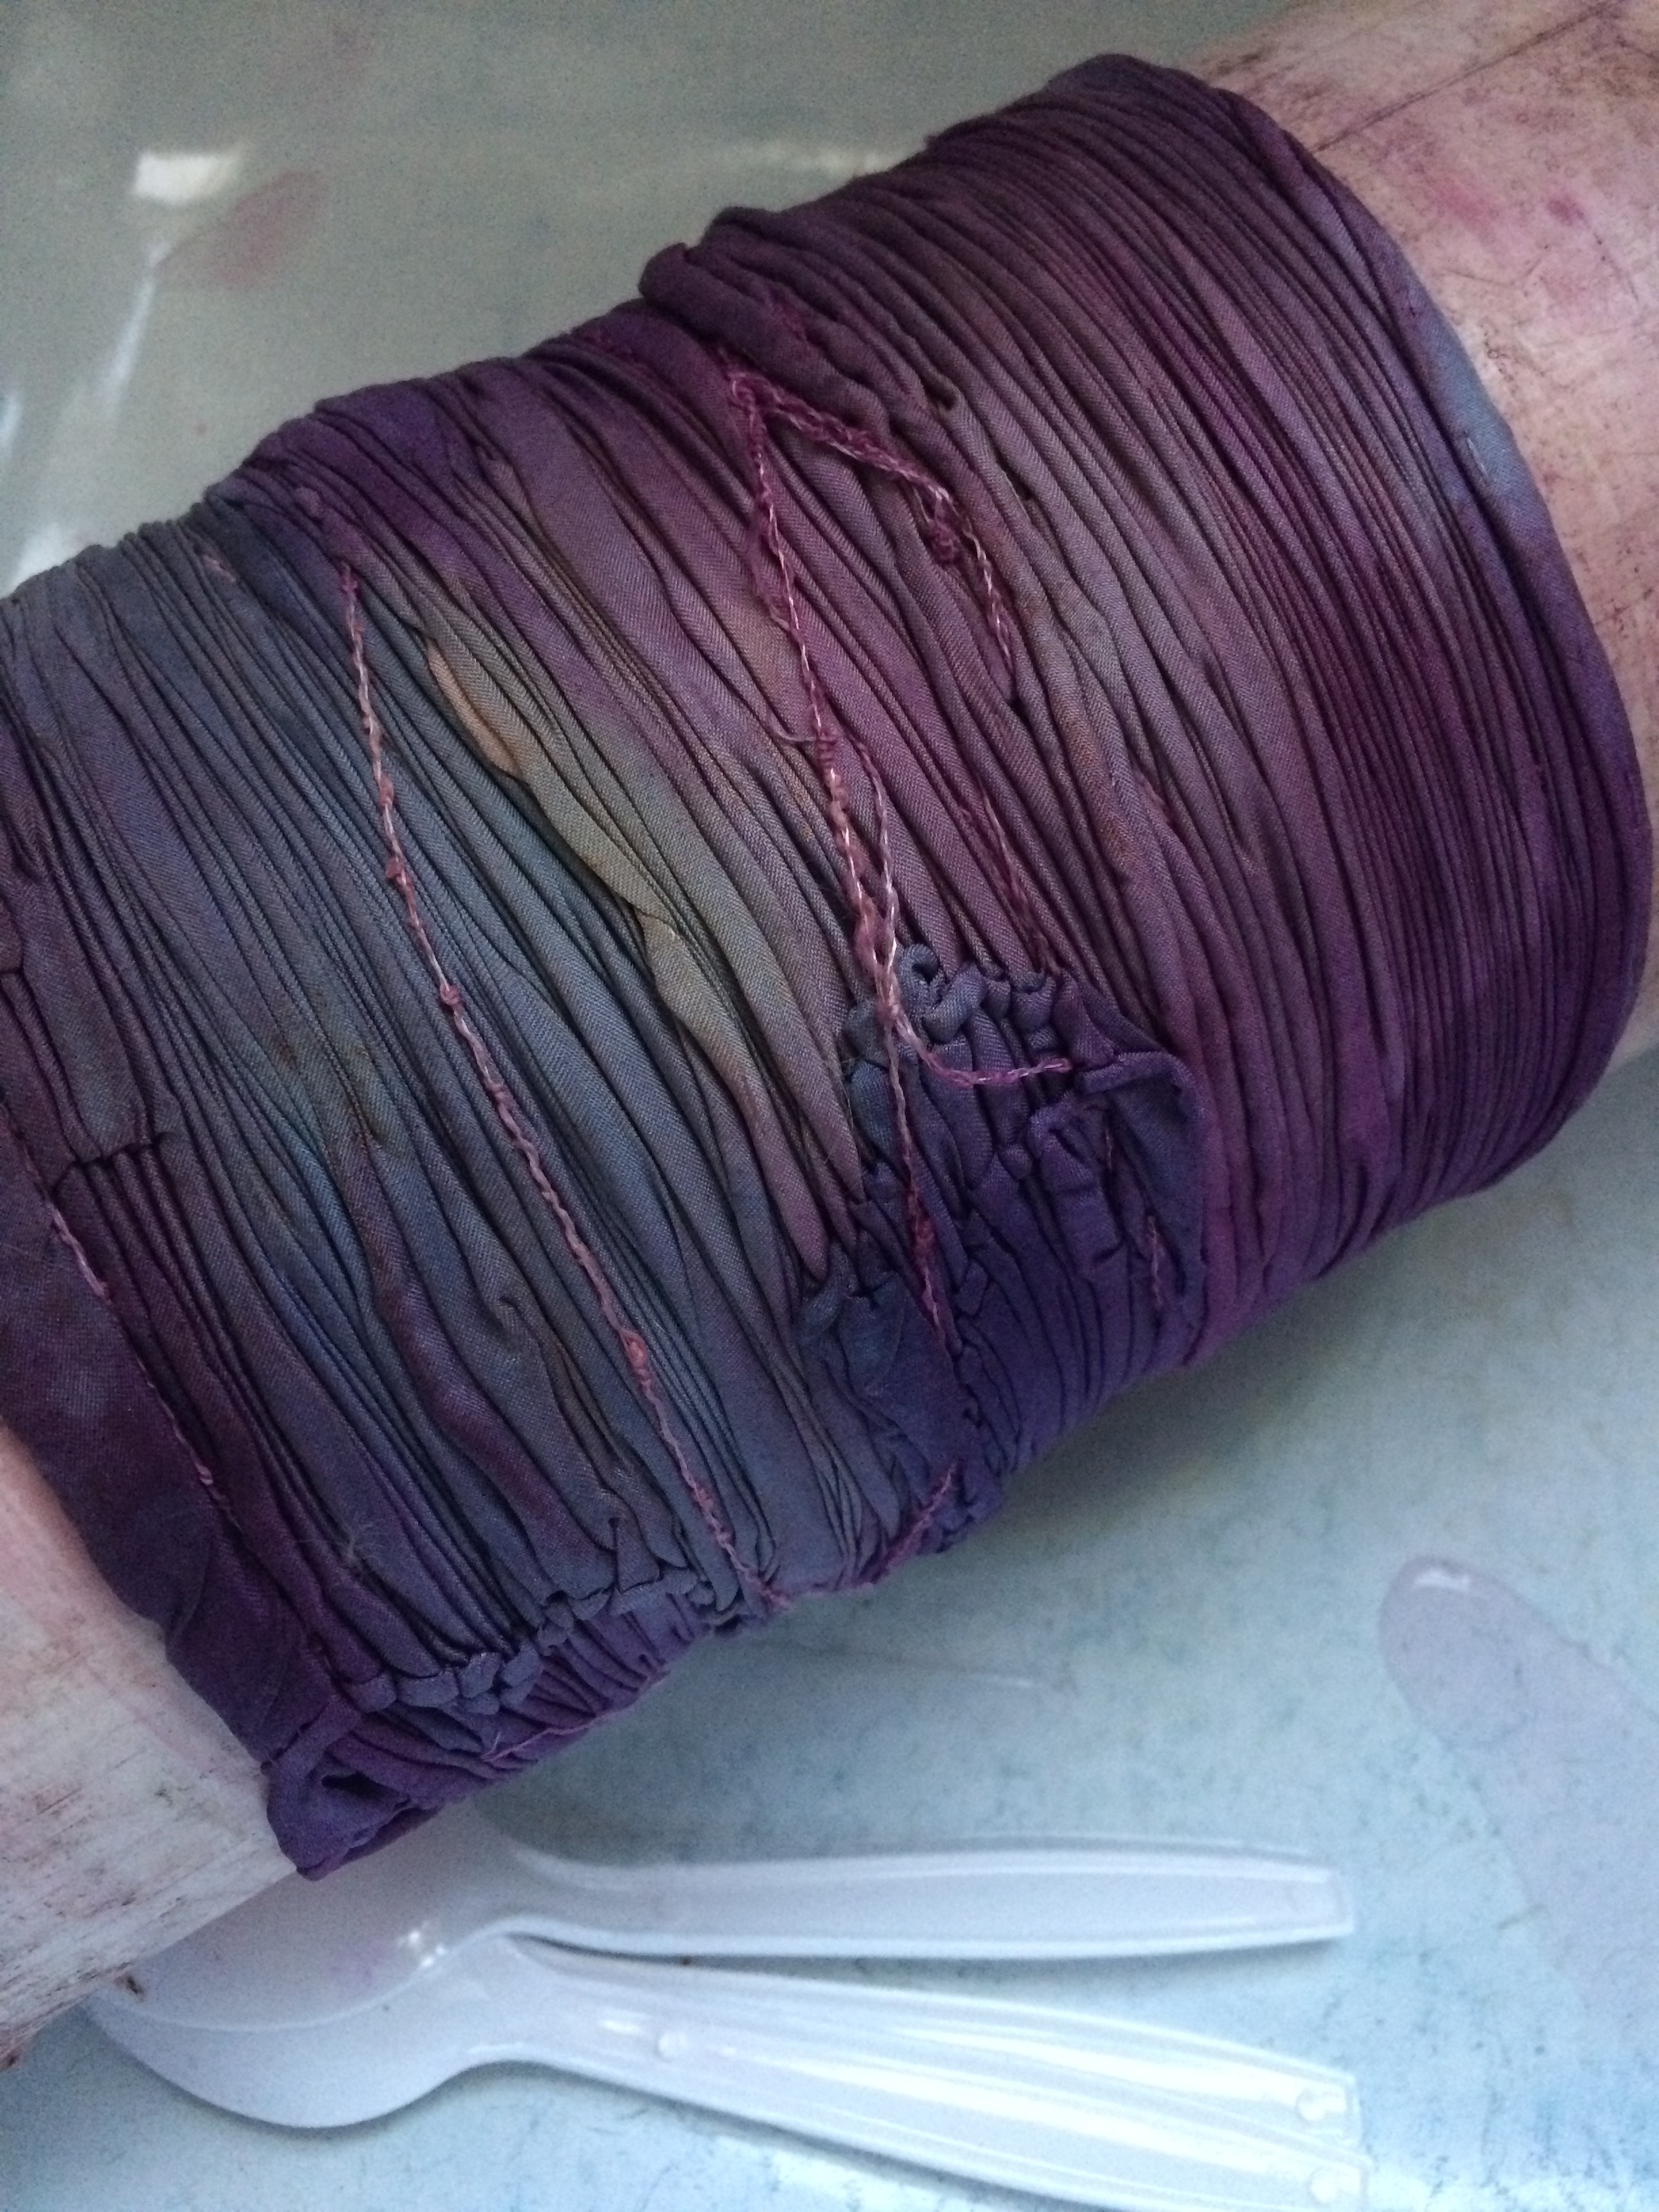
Once it is bound on, I scrunch it up as tightly as I can, making pleats. I wrapped three scarves around my pipe and bunched them up all at one end. I forgot to take a picture of this while the scarf was still just light blue. The “Common Fold Blog” (click here) has a great series of photos showing this step.
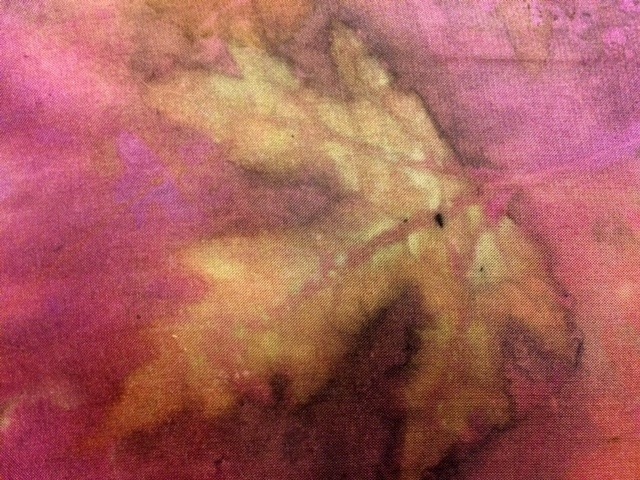
After I had my bunched up scarves on their pipe, I donned the rubber gloves and proceeded to work over the sink for the next really messy step. Using plastic spoons I began to apply my dyes. (I reuse the plastic spoons when they’re easily cleaned, but it’s nice to be able to toss them if they get as stained as my poor PVC pipe.) I take care to leave some of the Indigo peeking through with no dye and apply the different colors in patches so they blend and overlap and run through the crevasses in the pleats. It’s artistic instinct and a bit of practice to know when to quit. Except for the great reveal at the end of drying, this is my favorite part. I like artistic messes.
Now for the steaming. There are lots of ways to do this, and expensive steamer units you can buy to make it simpler, but here’s what I do:
- First, I wrap the silk in plastic wrap. (I know, all this plastic defeats the whole idea of natural dyes, but it works for the next step.)
- Then I put the whole package into the microwave and cook it for 4 minutes. (Don’t do this step if… your silk is dry or your pipe isn’t plastic.) This sets the dyes pretty well so that any further messing with your project won’t just bleed into the steaming water.
- If these were chemical dyes, I would consider them permanently set from this amount of time in the microwave. I dye silk with this method all the time and have never had any bleeding of dyes later. But…
- These are natural dyes, and the directions on the extracts don’t say a thing about microwaves, so I like to be cautious and continue steaming on the stovetop for an hour. The microwaving stops the dyes from just dripping down into the water so the color of your fabric will stay intense.
- I use a large dye pan, place canning jar rings at the bottom (or a real veggie steamer, or whatever works to keep the PVC off the bottom of the pan– I think I used ugly cookie cutters once instead), set your PVC pipe on its end on top of the rings and add water to cover the rings, but not so high that it make contact with your silk fabric. Cover the mess with a lid if the pipe isn’t too tall, or with aluminum foil if it is taller than the pan. Bring to a boil, then reduce to a simmer. You need enough heat to keep making nice steam. Check frequently to ensure you haven’t boiled dry, but don’t scald yourself when you pop the lid off! Steam burns.
Your dye is set!!!
Next, I slide the scarves off the pipe, but I don’t disturb the binding string or the pleats at all. I slide this over a one-quart plastic yogurt container bottom. The pleats are held in place, but the taper of the container lets some water get through. I very gently wash the silk in dish detergent and finish with a rinse with Milsoft or other fabric softener and a few drops of lavender oil. If you skip this step but choose to leave the pleats in your scarf, I find the silk to be crunchy and a little bit unpleasant around the neck. It also removes any residual smell from the indigo or other dyes.
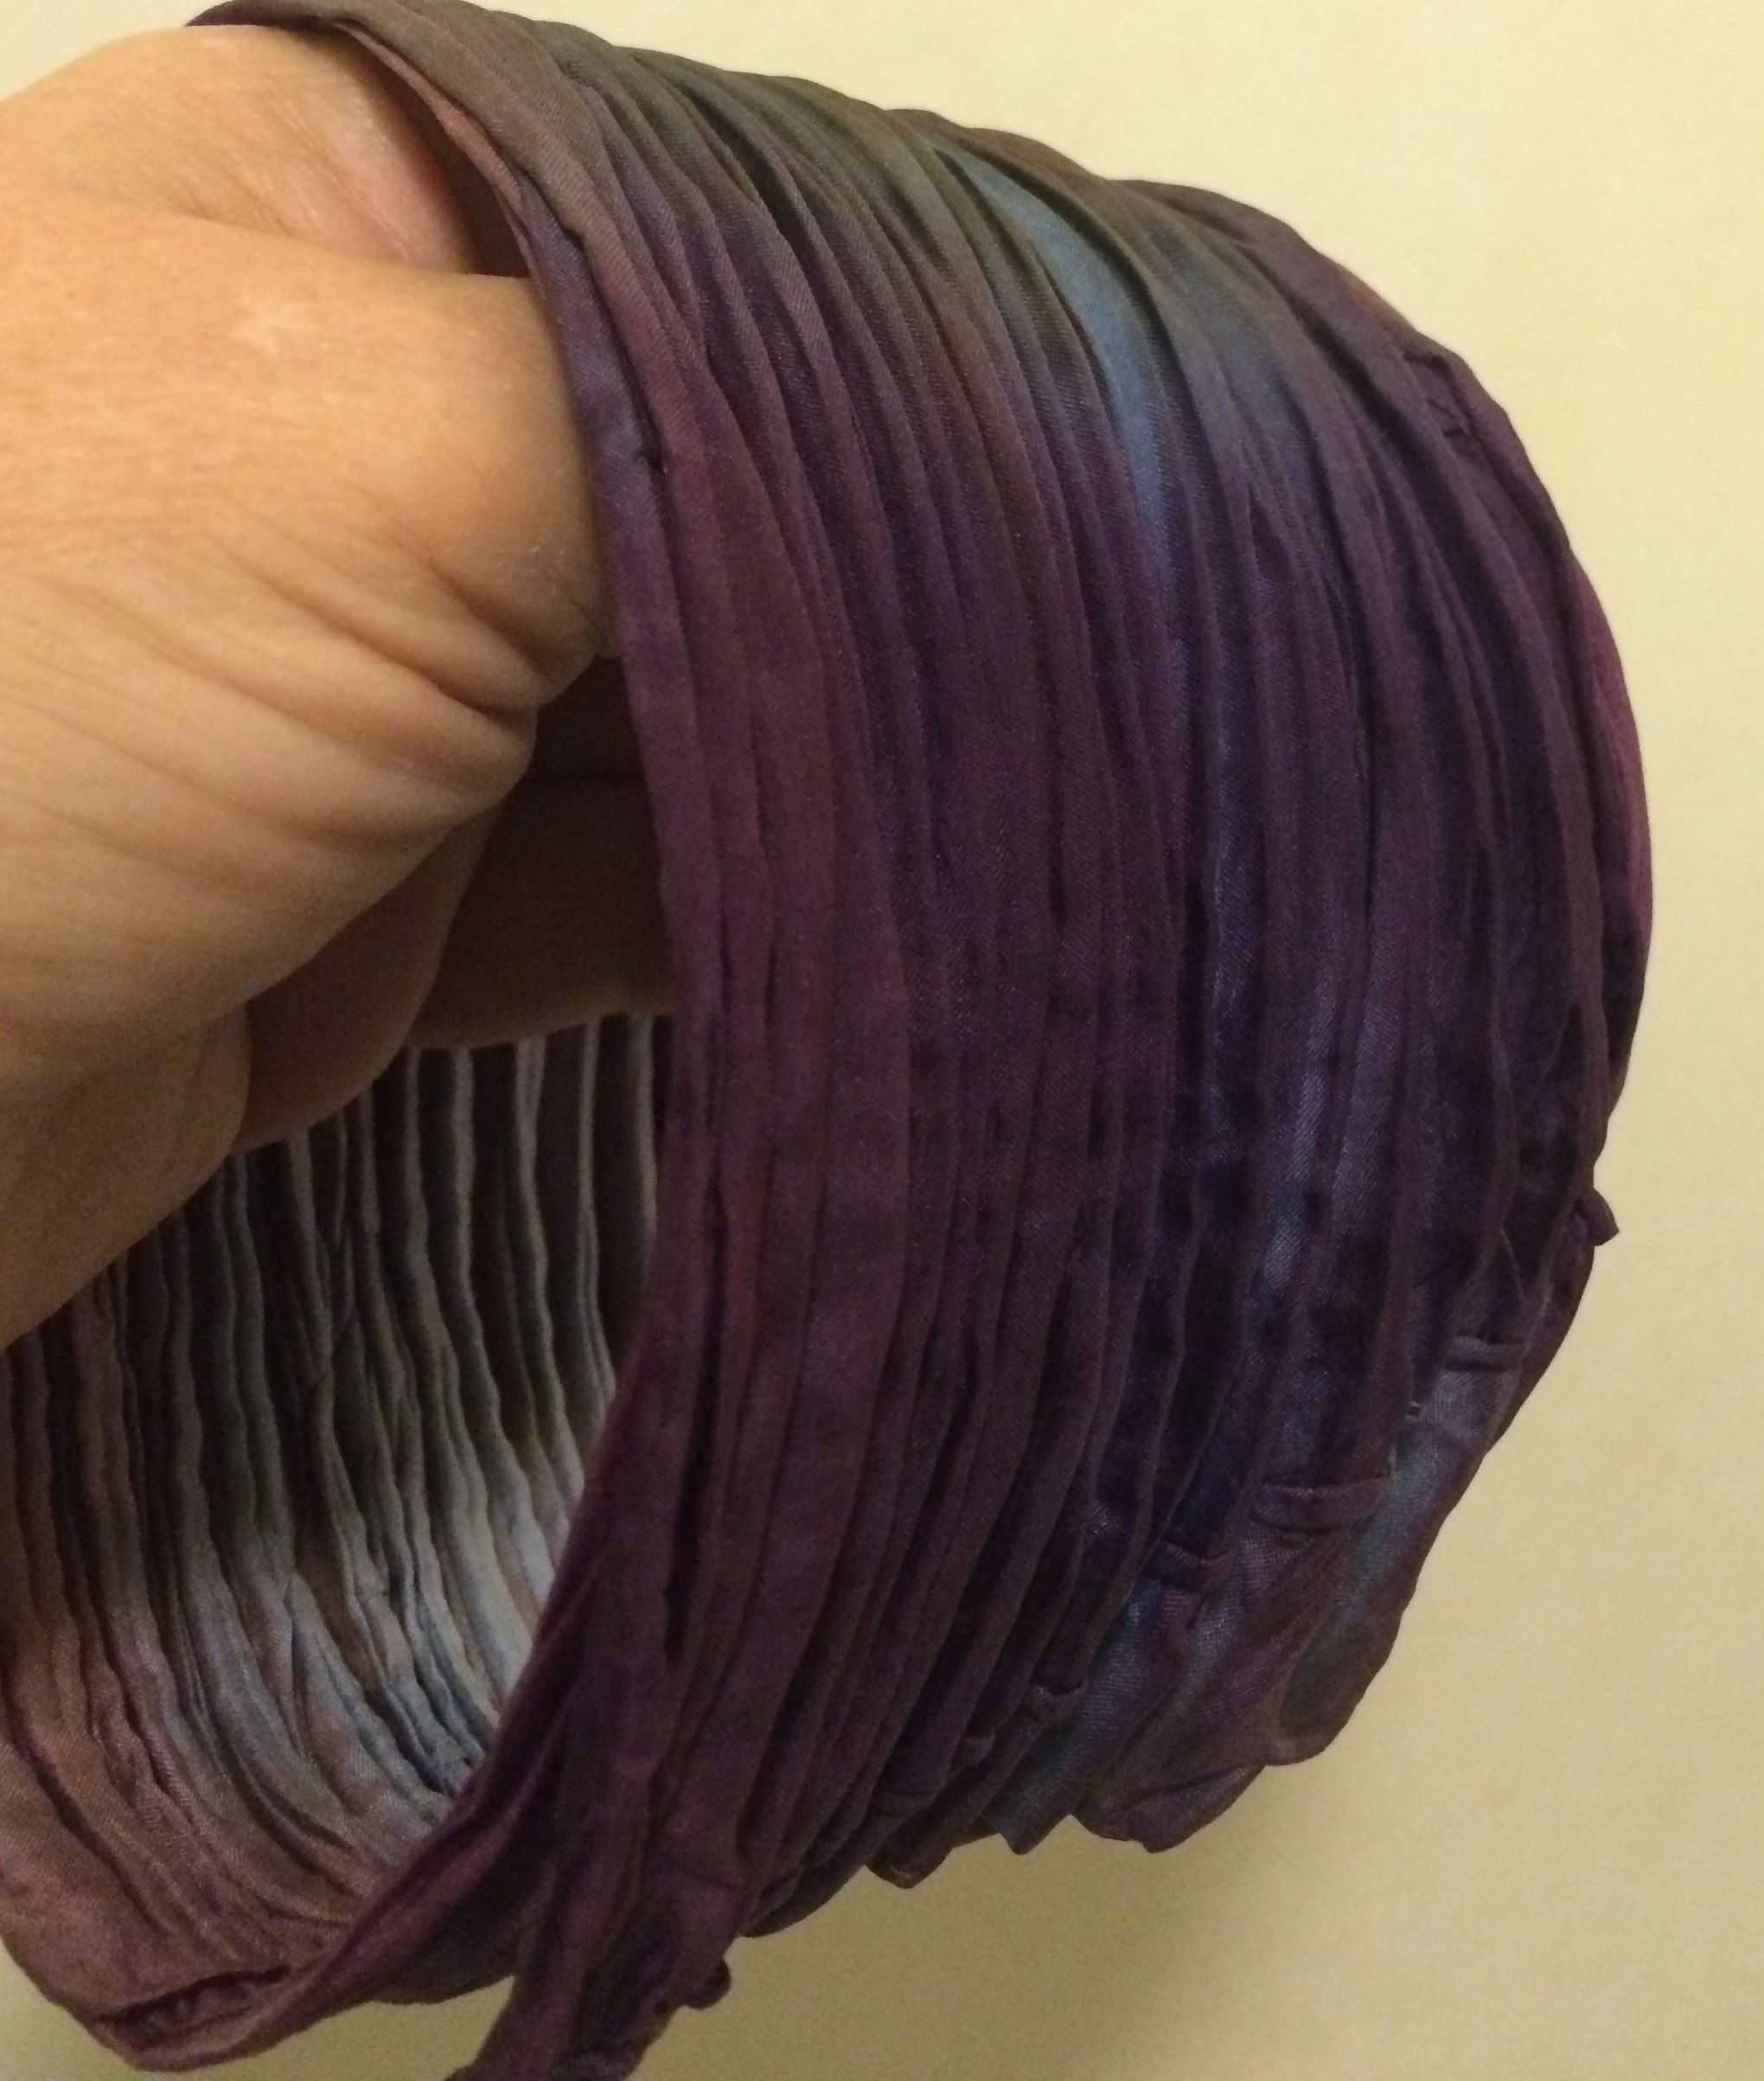
Take your still-coiled scarf and hang to dry. Be patient. You want it thoroughly dry before you uncoil it, so the pleats stay. Silk’s memory only remembers to stay pleated if you let it dry that way.
Next day:

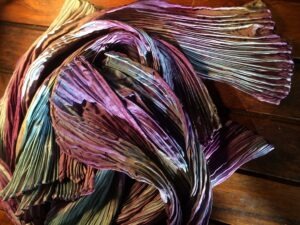
Uncoil your dried scarf! You can pull at the pleats a little bit, to reveal the other colors hidden down in the valleys. It will stay pleated.
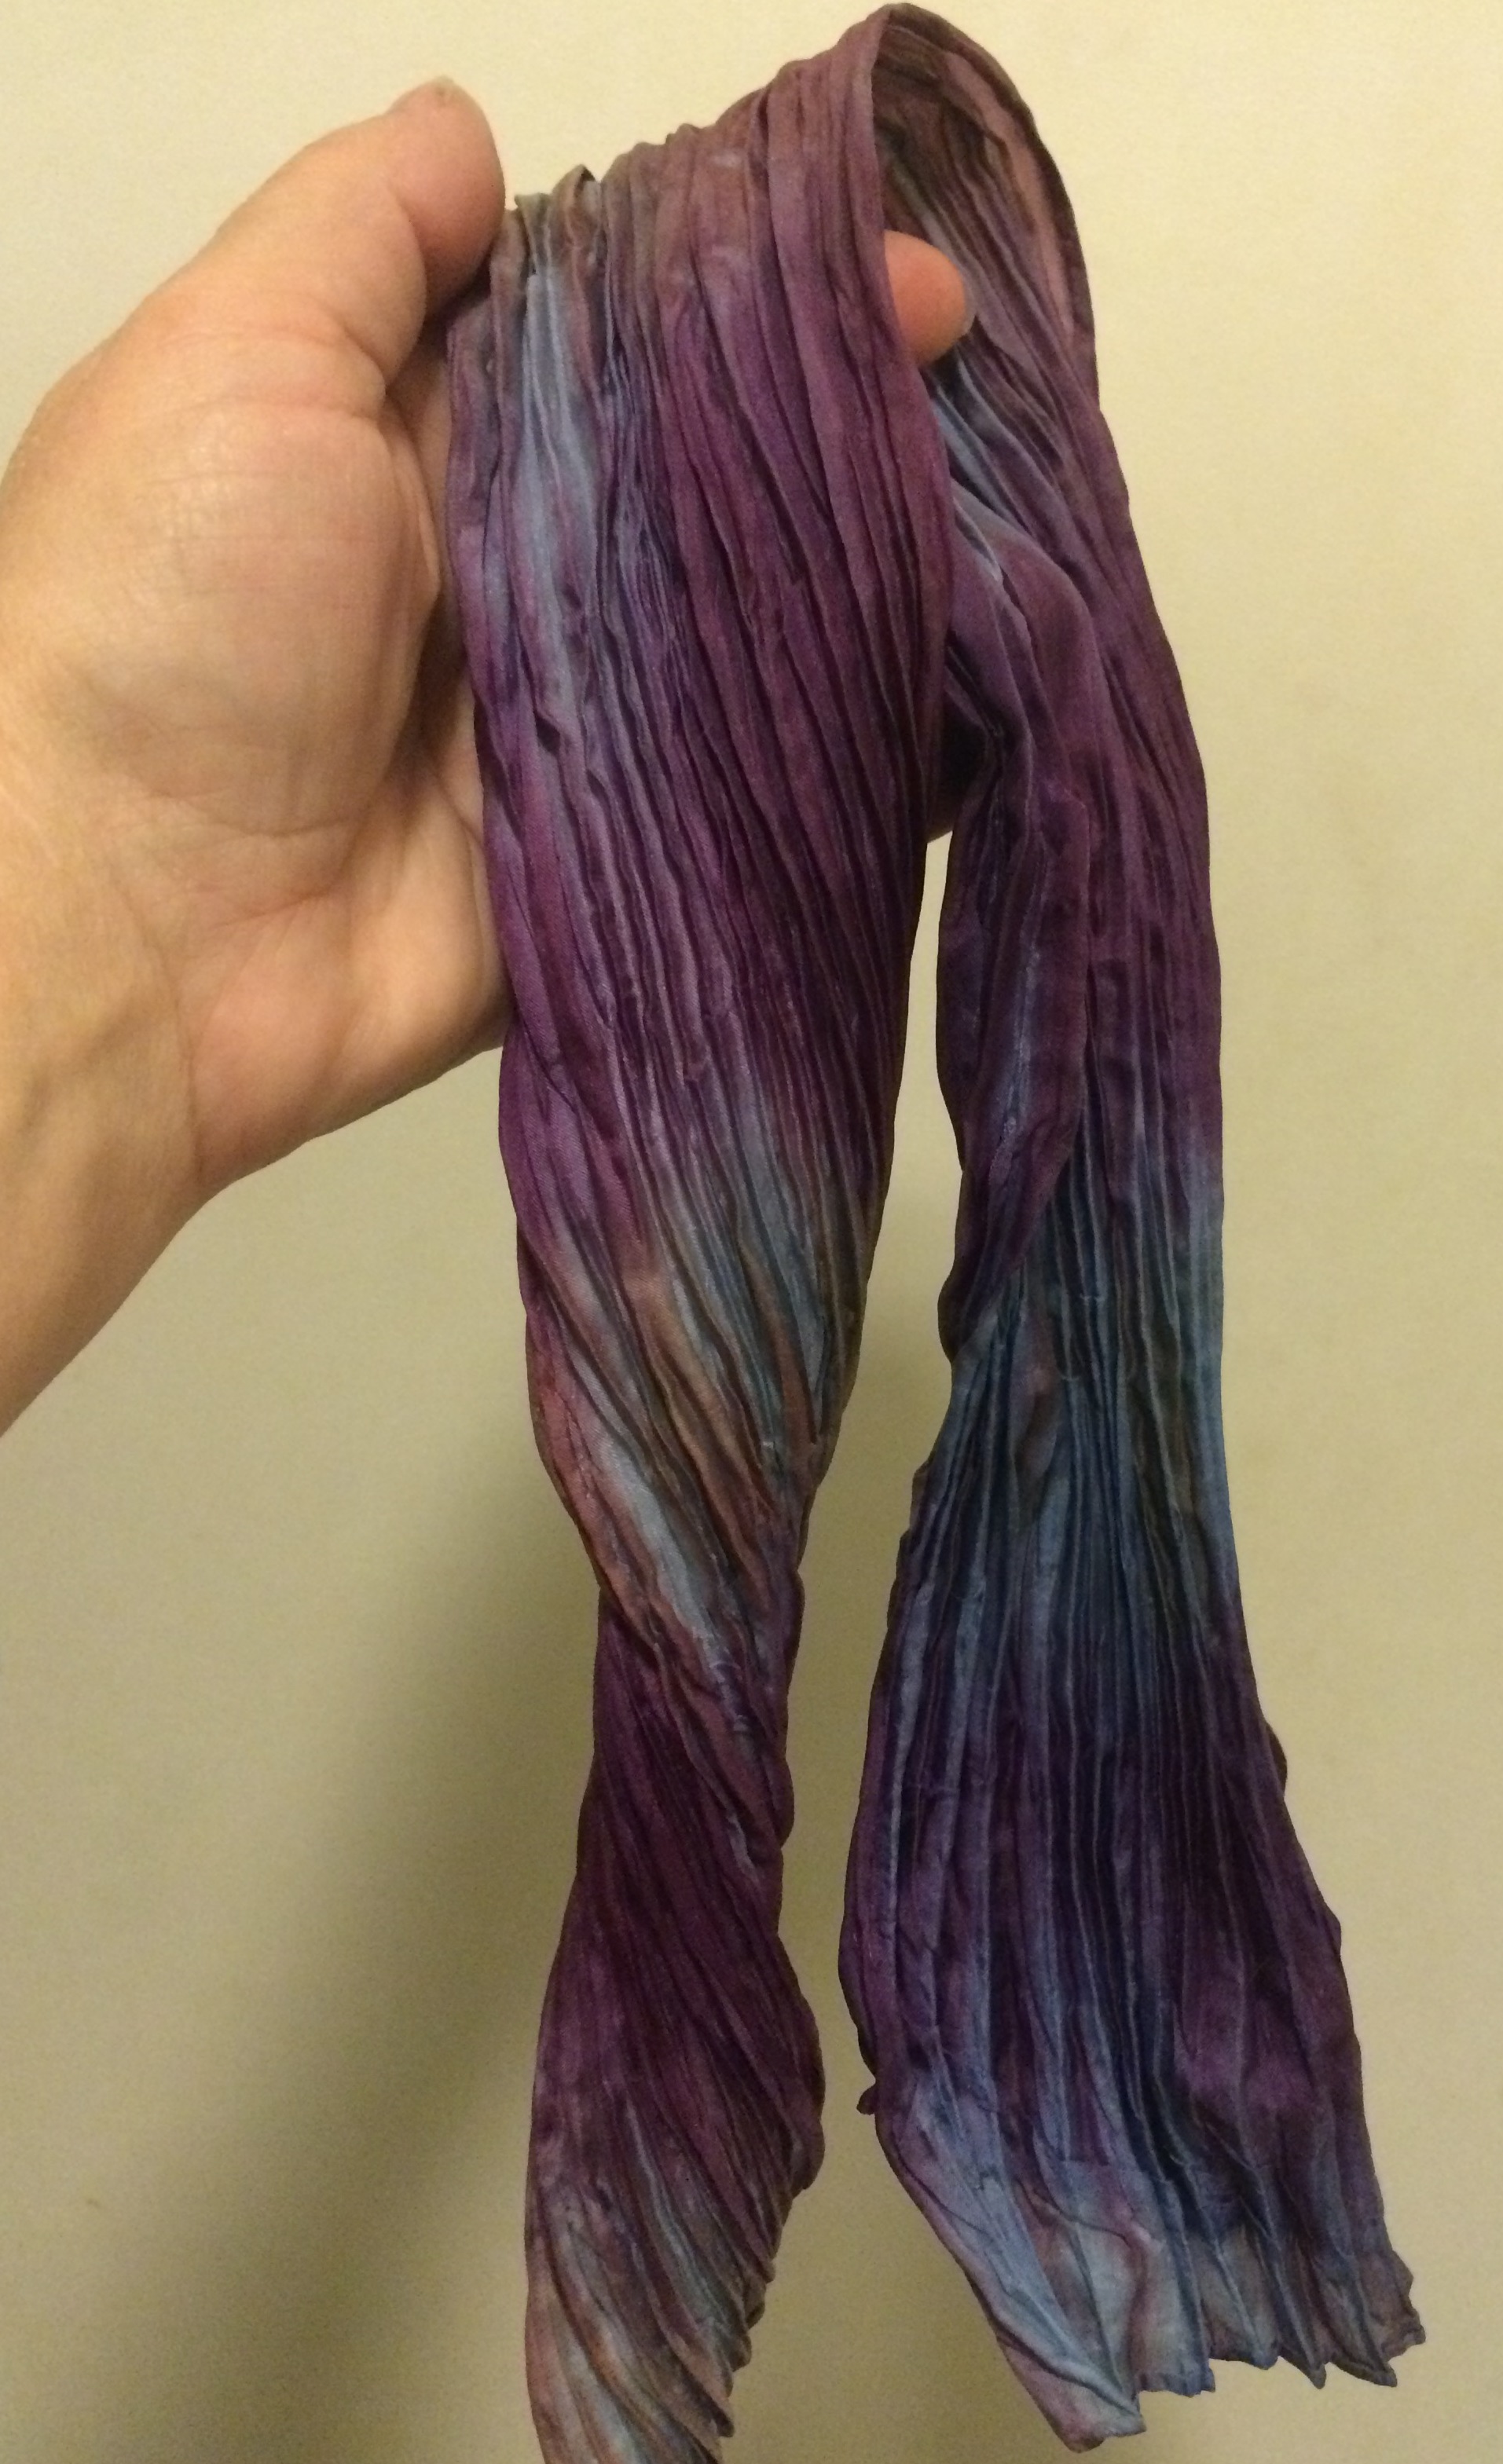
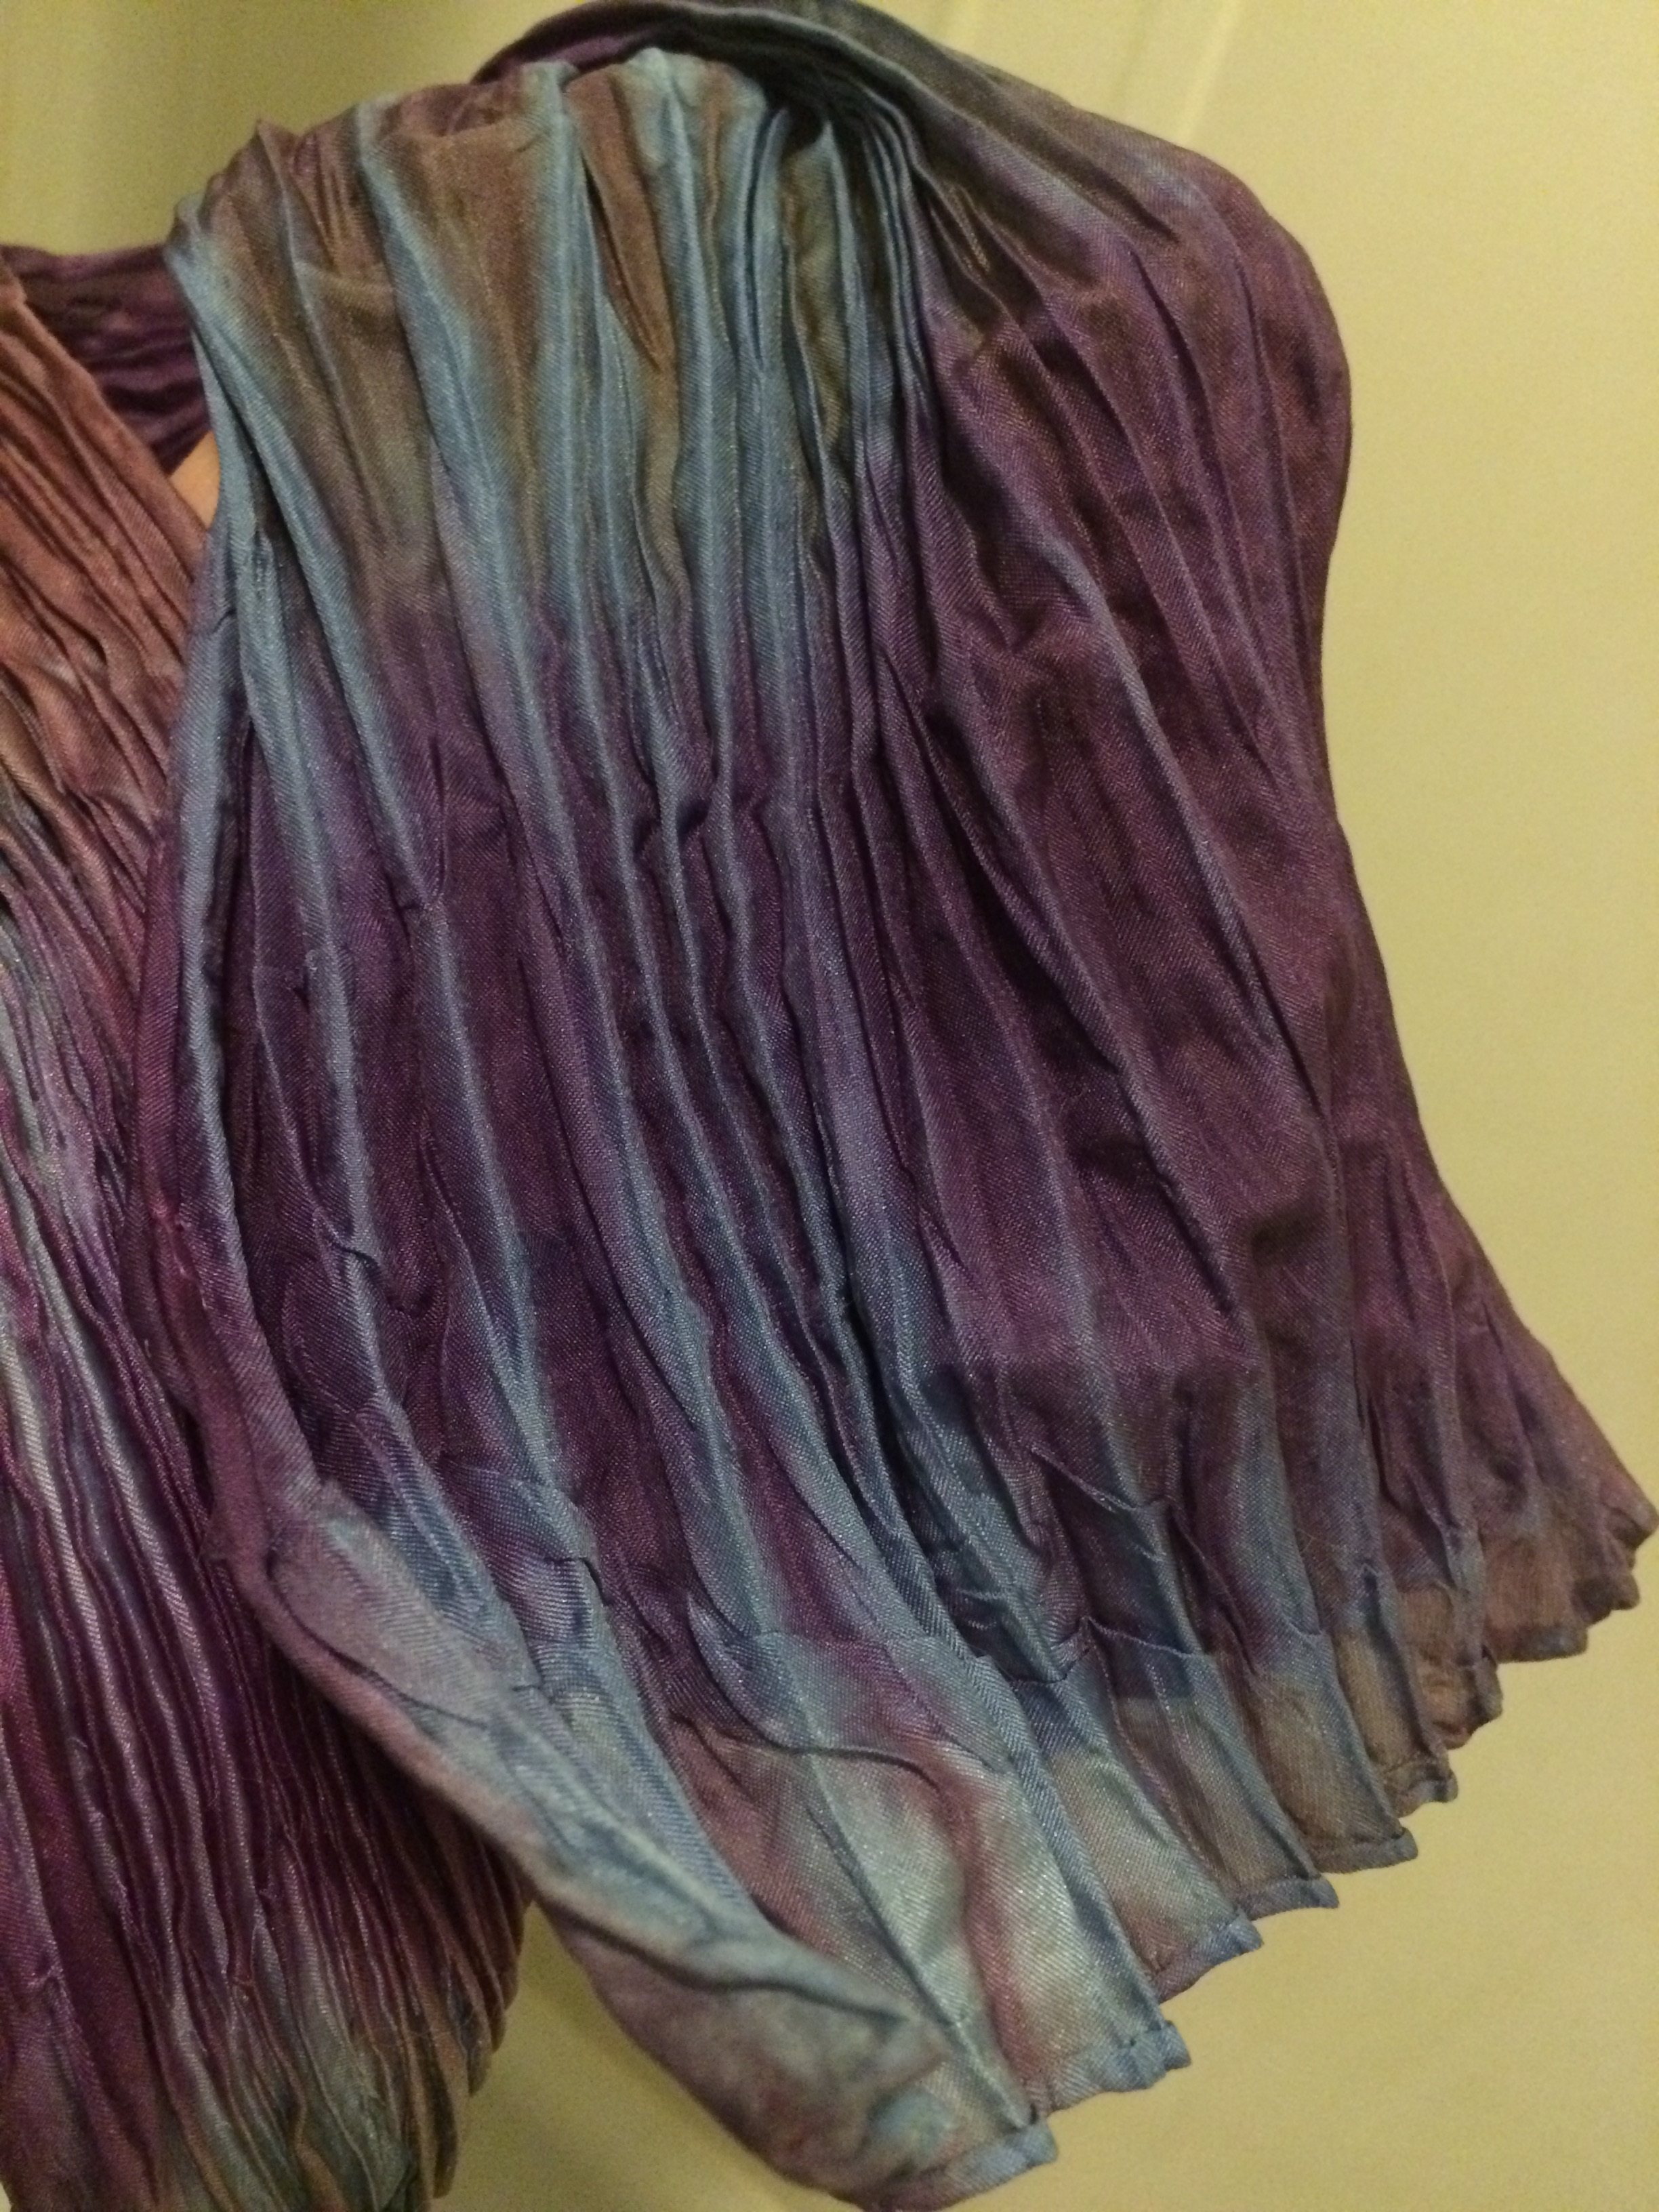
Voila! Your fiber art masterpiece is ready to wear!

I hope you enjoyed this project. Feel free to leave comments, suggestions, ideas, or links to your own artwork!
To view our Privacy Policy, click here!
Comments are always welcome here at SlowYarn! Tell us what you think, share your ideas, or comment on the content. Or you can contact me directly at Kelley@SlowYarn.com.
Thanks!
–Kelley
Copyright © 2016 – 2023 Kelley Adams. All rights reserved.
All text, photos, and graphics are the property of Kelley Adams unless credit is given to an alternative source.


Have you ever tried to use lichen to get a deep magenta or purple? If so, do you set it the same way?
I have not, Robin. I live in Colorado, which has a very dry climate and lichens grow quite slowly. I admire the lichen dyeing I have seen others do in wetter climates, but can’t in good conscience harvest any locally for my own use. If anyone has tried steam-setting lichen dyes, please send me some pictures and information! I’ll happily post the information here on the website. (I always give credit to my sources, and will post a link to your Etsy shop or website if you would like.)
Kelley@slowyarn.com
How do you keep the pleats on the scarf, I have not found a way. Any ideas? Thanks Rudy Jaques TXMXKD@GRANDECOM.NET
As long as you’re using 100% silk and you don’t wash the finished (pleated) product, the pleats will stay in. Silk has a remarkable memory, as anyone can tell you who has a wrinkle that won’t seem to iron out of a silk garment! The pleated scarf can be dry cleaned if necessary. You can also create some fascinating effects by ironing the pleats smooth, leaving tiger-striped color. A re-do, with new pleats, and then an over-dye will create a criss-cross pattern that is interesting.