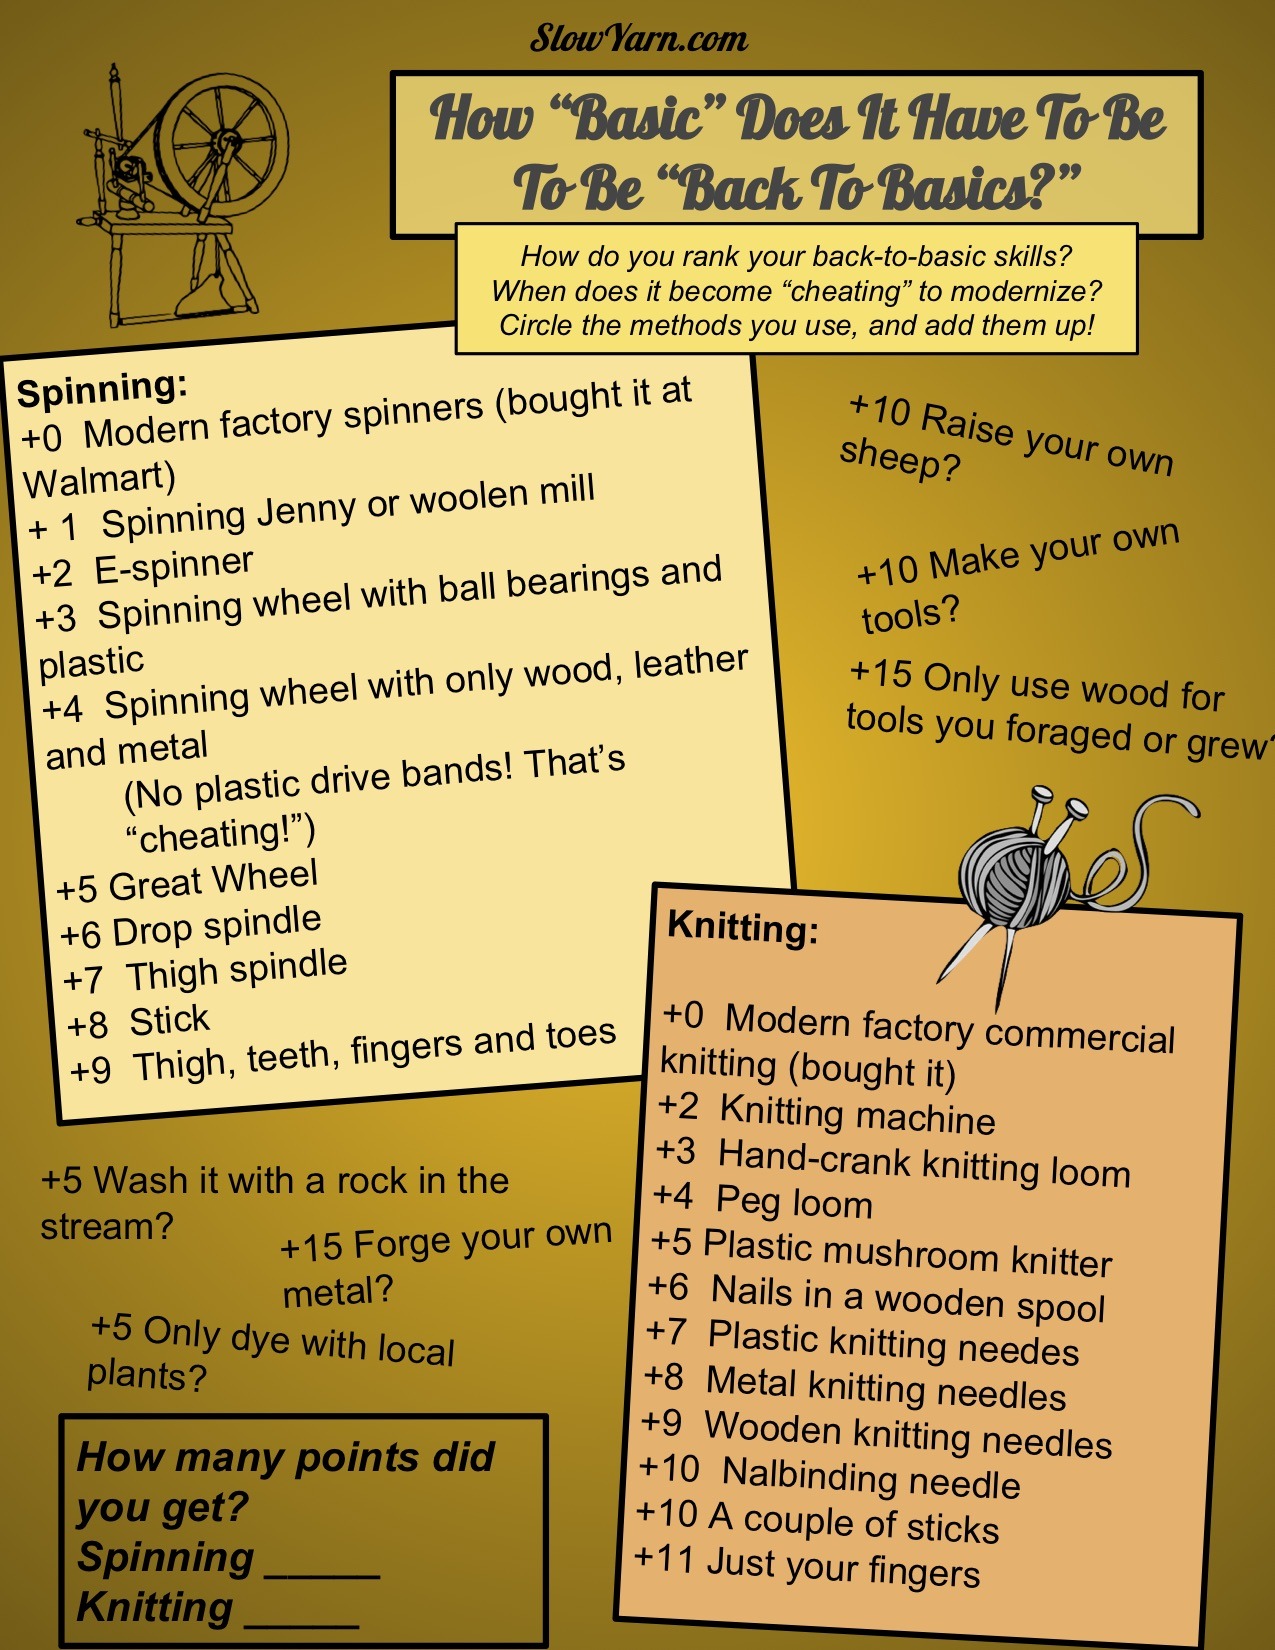
SlowYarn No Worries Dye Method
Let’s face it. White wool is boring. It’s a lot more interesting to spin or felt with bright, colored roving in variegated colors than to spin it white and dye it later. When wool is dyed before it is spun into yarn, it is called “dyed-in-the-wool.” This is a super easy method of dyeing, with no measuring, no rules, and no worries!
This is the method I generally use for dying my wool roving, finished yarn, weaving warp chains, or even fabric. Be forwarned: If you are a type A personality with a deep need for control, you probably won’t like this method. If you like to have fun, experiment, and be surprised by beautiful but unplanned results, it’s for you!
I use Rit dyes. I love that this brand has been used for generations with consistent results and little fading. I love that it’s inexpensive. I love that I can get more at the grocery store if I run out of a color. And I love, love, love their color range! It can dye cotton or wool or silk, with equally great results.
If you have another brand of dye that you love, that’s okay, too! (No rules!) Most others are less crystalline and more powdery, so they will give a slightly different result when they dissolve. But… no worries! It’s going to be gorgeous!
If you give this a try, please follow the links from my page to purchase your materials! I get a (very) small commission, which helps to pay the bills for the website, and it won’t cost you any more.
Here’s what you’ll need:
- Wool — I love Shep’s Merino roving, which I purchase over Amazon! It’s a small business, using big ole’ Amazon to sell their high quality wool. All the wool pictured in this article is from them.
- Rit dyes — I’m not gonna tell you to get these from Amazon, ’cause… um.. what’s up with those prices?! If you don’t have them at your local grocery store in the same aisle as the emergency sewing kit and the fix-a-flat, try Joann’s Fabric. Or here’s an online link: Joann’s Rit Dye
- A dye pan. This can be any old pan, including a lidless cheapo from the thrift store, but once you use it for dyeing don’t ever use it for food again. For this method, I prefer a shallow baking pan, but any pan that will fit into your oven will work. In a pinch, a disposable foil baking pan will work, but it gets a little scary when it’s full of wool and water and dye and bends when you move it. I wouldn’t recommend it.
- Rubber gloves for safety.
- Dust mask, also for safety. Just the cheapos are fine.
- Oven for baking. You can use a small oven, but make sure your pan fits before you put all that dye on there!
No Worries Dye Method
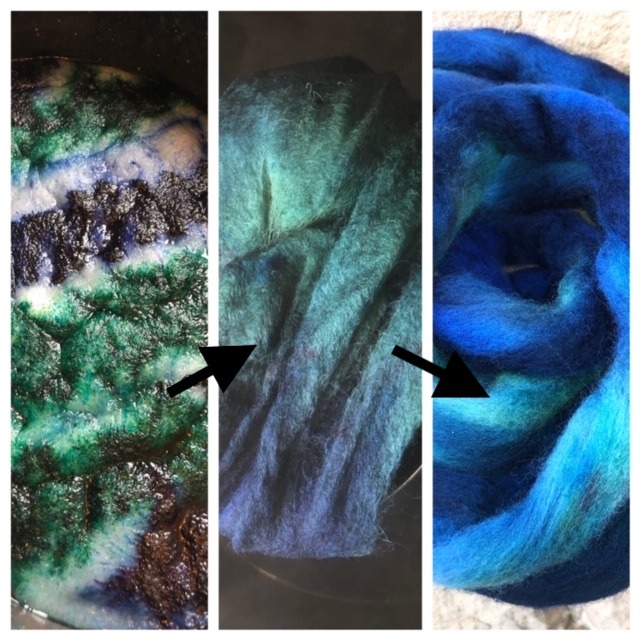
You’re going to lay down stripes of several coordinated dye colors onto the white wool in a fairly random way to make variegated roving to spin or felt with. This type of dyeing doesn’t need any stirring or fussing. In fact, the less you mess with it, the more clear your colors will be! After setting the dye, rinsing and drying, you will have variegated roving with patches of different colors along the length of it.
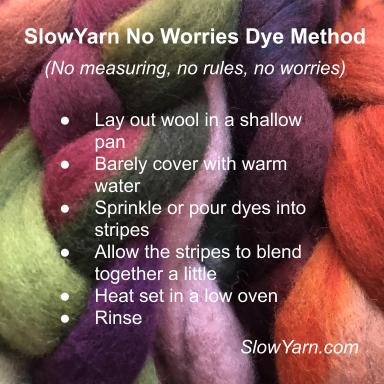
The SlowYarn No Worries Dye Method:
(No measuring, no rules, no worries)
- Lay out wool in a shallow pan
- Barely cover with warm water
- Sprinkle or pour dyes into stripes
- Allow the stripes to blend together
- Heat set in a low oven
- Rinse
The Process:
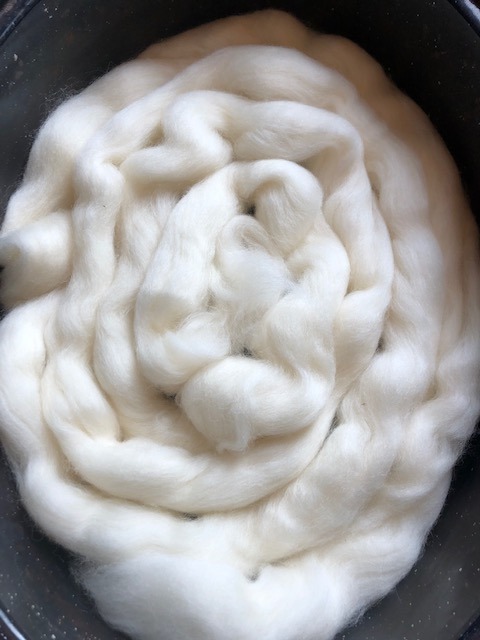
Put the wool into the pan
Spread out the roving in the pan so that it’s only about one layer deep. How much? Hah! Let go of the control issues on this one and just go with it. “Some” wool. As a rule of thumb, more wool and less dye will make a paler color. Less wool and more dye will make an intense color. You’re going to re-use the dye that’s leftover, anyway, so don’t worry at all about measuring!
I like to spread it into zig zags or a circle, so that the stripes I make with the dye repeat and aren’t all in a clump. Sometimes I don’t. Sometimes a color is all in one clump and nowhere else in the roving. The Dye Police have not arrested me once for this! No worries!
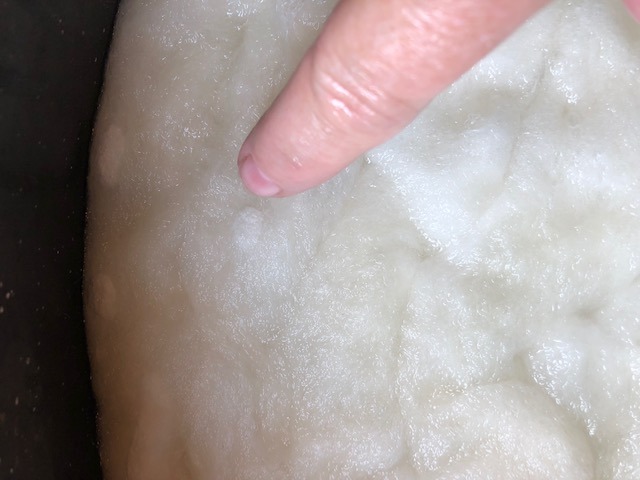
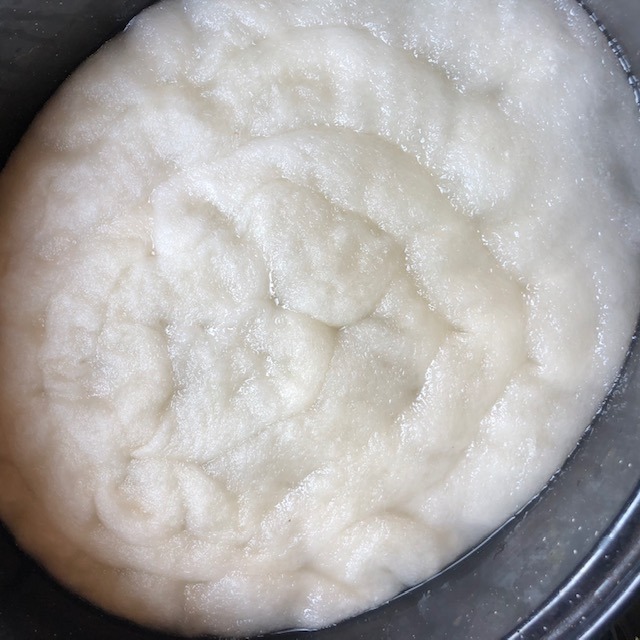
Use warm water to just cover the layer of wool in the pan. If you have little air pockets, just press them gently down into the water to get water in there. If you don’t, there may be pockets of white wool. Once again, no worries! This is variegated roving, and all variances get blended into the spun or felted end product. A few white spots won’t really hurt anything.
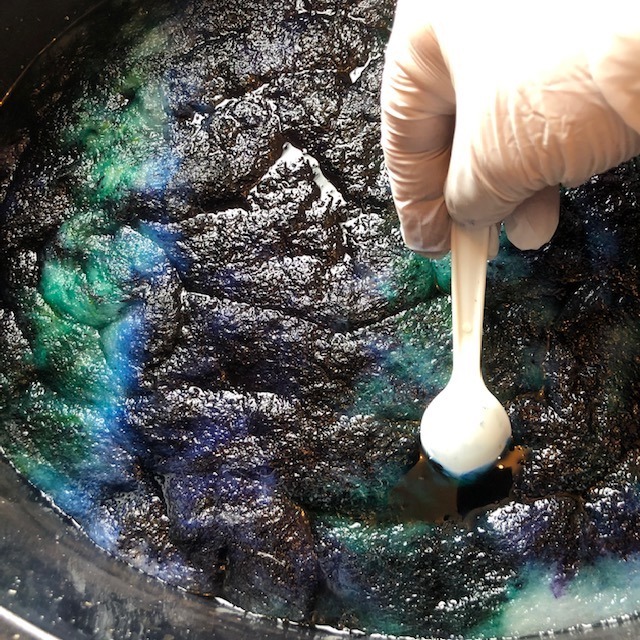
Lay Down Stripes of Dye

I started this one with a liquid Rit dye in “Evening Blue,” to show the difference on the wet roving. The liquid stays in a narrow stripe and soaks straight down into the wool, with very little blending on the edges of the stripe.
How much? Some. I pour in a narrow stripe across the pan, and never bother to measure. It is probably about a quarter cup of liquid dye. With the powders, you’ll just sprinkle it, straight from the package, onto the wet wool. It’s like putting salt on your food– just shake it to cover lightly, and it will spread and soak in as it dissolves in the water.
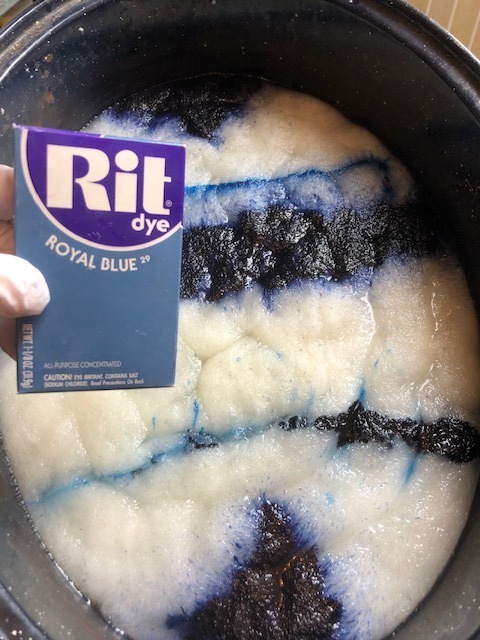
The powder spreads quickly, but it’s also soaking down into the wool. Sometimes you can watch the powdered dye “break,” where the different colors that make up that color disperse differently. You might see spots of purple or turquoise “break” from the main color.
Rit blue dyes are very intense. With a lot of fiber reactive dyes, the blue colors are more expensive than other colors for some reason, but Rit blues are the same price as all the others. This was only about a teaspoon of dye powder, sprinkled in three places on the surface of the wool, and there will be blue leftover in the water after this wool batch has been heat set.
Adding more stripes:
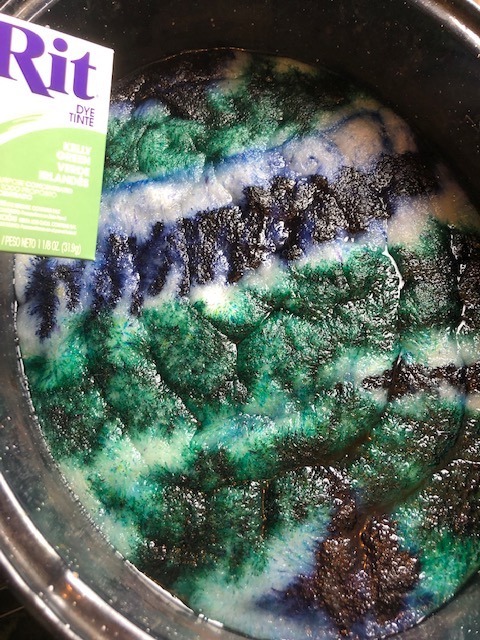
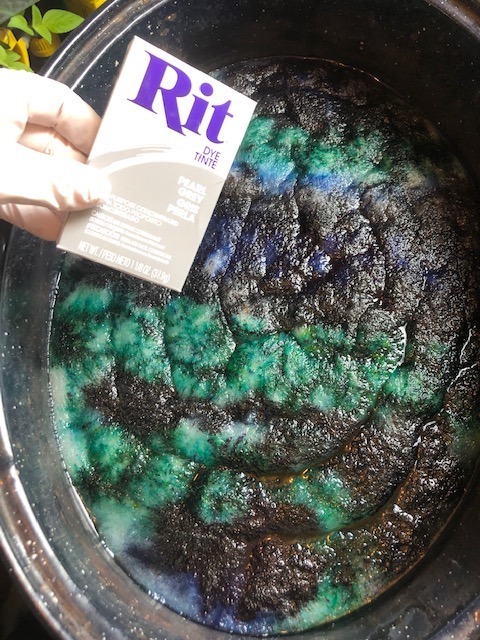
If there are spots where the dye hasn’t spread at all to cover the white, or it’s sitting on top, or you just want more blending with the stripe next to it, give it a gentle nudge with a gloved finger or plastic spoon. Don’t get all crazy and stir it! You want to preserve the stripes.
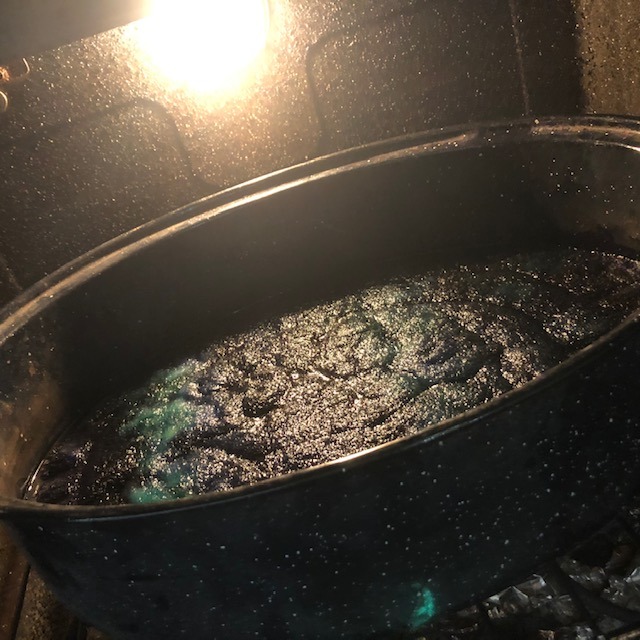
Heat Set the Dye in the Oven
Carefully, so as not to swish it around and mix the colors, put the pan into your oven and set to bake at about 225 degrees fahrenheit for an hour. This is just past the boiling point, so it may bubble a little, but turn the temperature down if it gets all crazy boiling in there.
Rinse, Dry, Repeat
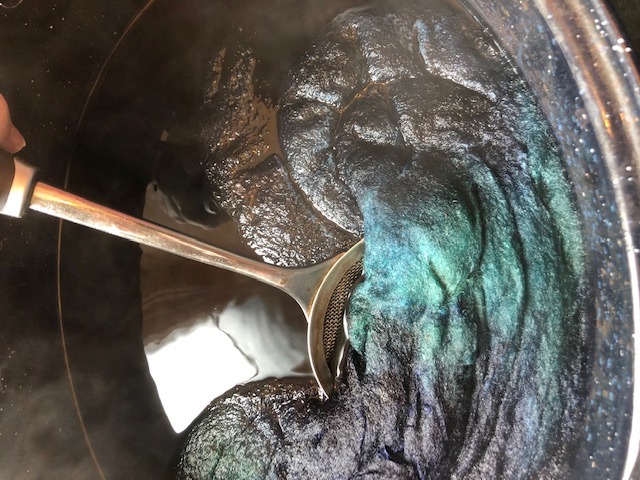
Don’t drain off the water at this point! There is still a lot of color in there. Just use a spoon or stick to pull the roving up and drain the water back into the pan.
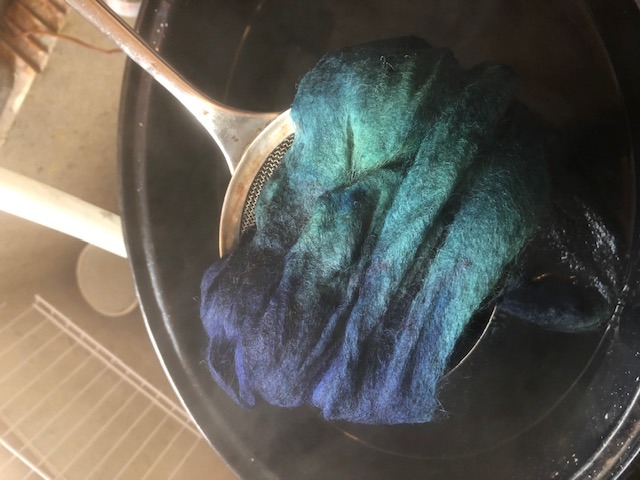
After it stops pouring back into the pan, put the dripping wool into a sink full of plain, warm water to rinse the extra dye out of the wool. (This is a moment to use your gloves, even if you forgot until now! Or, try to explain your blue fingers at dinner tonight.) Don’t run water over, squish, wring, squeeze, or otherwise agitate your roving in the water as you rinse it, because you will risk felting. (That’s where the fibers grab ahold of each other and refuse to let go. Ever. It’s a good thing when you plan to make felt, but a bad thing when you’re just trying to rinse out your roving.) Repeat the process of filling the sink and gently rinsing your wool.
When the color stops bleeding into the rinse water, squeeze gently or wuz and hang dry.
What’s that? You don’t know what “wuzzing” means? It’s great on a warm day. Not so much on a snowy day. Hold onto your length of roving and spin it around like a helicopter blade to fling the excess water out by centrifugal force. Try it! It’s fun!
With the dye still left in the pot, you can make another batch of colored wool. It will be a single color, blended from all the colors you used before, but a little bit paler. Or, add another stripe of color to change it up! No worries, remember?
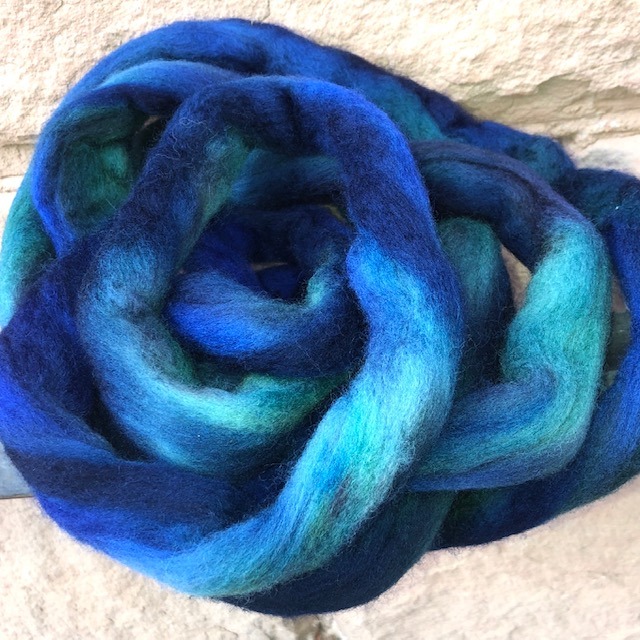
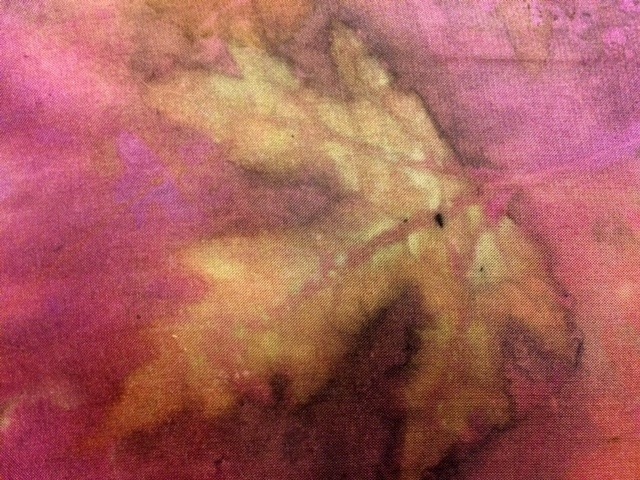
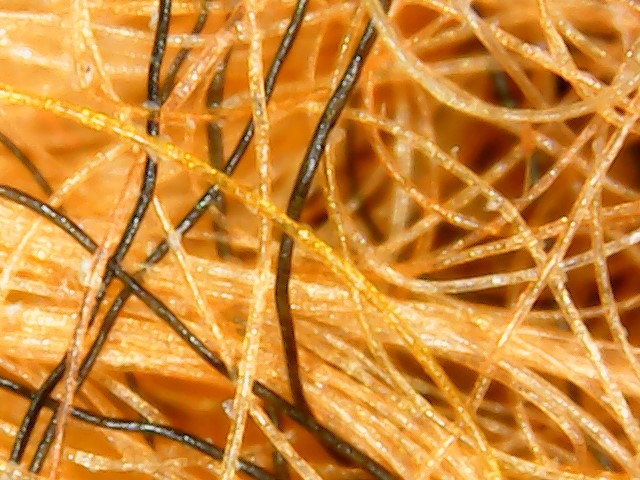
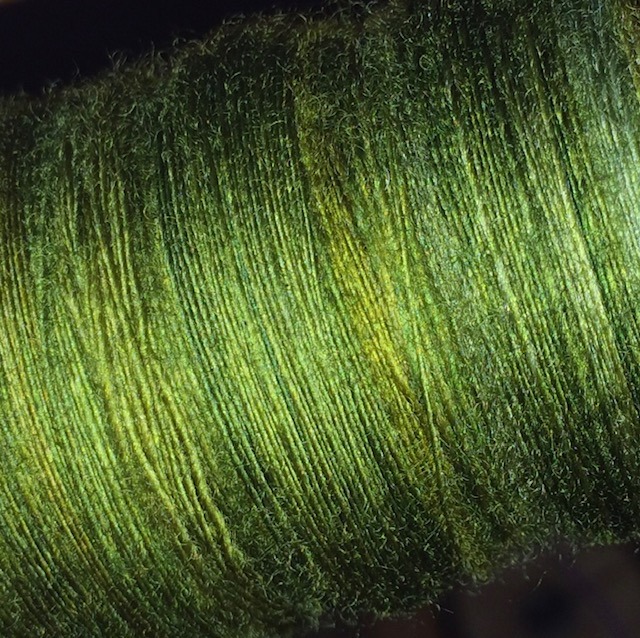
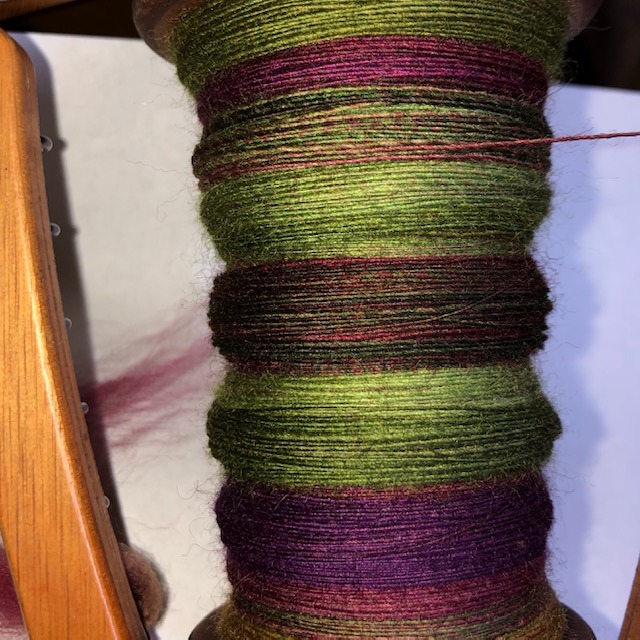
After it dries, the variegated colors will really show up in your dyed roving! Now, it can be used for felting (intentionally) or for spinning. It’s fun to experiment with the different ways to break up the roving for spinning, to get smaller or larger lengths of color in your yarn.
If you try this method, send me pictures at kelley@slowyarn.com! I’d love to share them.
Copyright © 2019- 2023 Kelley Adams. All rights reserved.
All text, photos, and graphics are the property of Kelley Adams.