From Sheep to Shawl: Dirty to Clean
I’m delighted to present a guest blog written by Heather Wallace on her Sheep to Shawl journey. Like many of us in the fiber arts, she was first captivated by handspinning when she saw a public demonstration. Here is the story of her Sheep to Shawl project:
How It Got Started
Since you’re reading this post, the steps of taking a sheep in the field and making it into a beautiful work of art are appealing to you. Maybe you’ve done something within the fiber arts (knitting, crocheting, felting, weaving, spinning, etc) or maybe you just think it would be fun to learn to do any of those things. If you’re like me, you may have the tendency to put the cart before the horse. My journey from sheep to shawl is no exception. I owned 2 sheep before I had ever spun a skein of yarn. This is the fourth year of my trials and tribulations and I STILL don’t have a project to show for all of my efforts—but this is the year! I’m determined—and, as my husband can attest, when I’m determined, nothing gets in my way.
A few years ago, I went with my husband to the Ozark Folk Center in Mountain View, AR because he supports my somewhat unorthodox affinity for old-fashioned things. It was there that I saw a lady spinning named Jeanette Larson who I would later learn is a legacy in the Ozarks fiber community of Arkansas. She was spellbinding! The delicate, old-timey craft was something that I had to learn. Up until then, I never wondered how yarn was made or how it became a sweater. I found myself Googling like crazy and the more I learned, the less I realized I knew—not just about fiber, but about appreciating the local crafters and skill level that it takes to do this kind of art.
I’ve never considered myself an “artsy” person, but this I could do. I found some local resources, took a crash-course in basic spinning, bought a spinning wheel, and then, since my in-laws had a small hobby farm and we had a place to put them, we bought a few sheep. I had literally taken a 1-hour course in spinning and now I owned 2 sheep. Did I mention that I have the tendency to put the cart before the horse? Heaven help me.
From Dirty to Clean
This is the year of greatness. This is the year I will finally take all of my hard-learned lessons and complete a sheep to shawl project. And the best part is that you can benefit from all of my mistakes, learn all the good stuff, and put your horse in FRONT of the cart where it belongs. Read below to learn from the first 2 days of my journey—From Dirty to Clean. My hope is that you will be able to follow along with these steps wherever you are at along the journey of fiber art appreciation.
What You’ll need:
*fleece; I used Shetland wool.
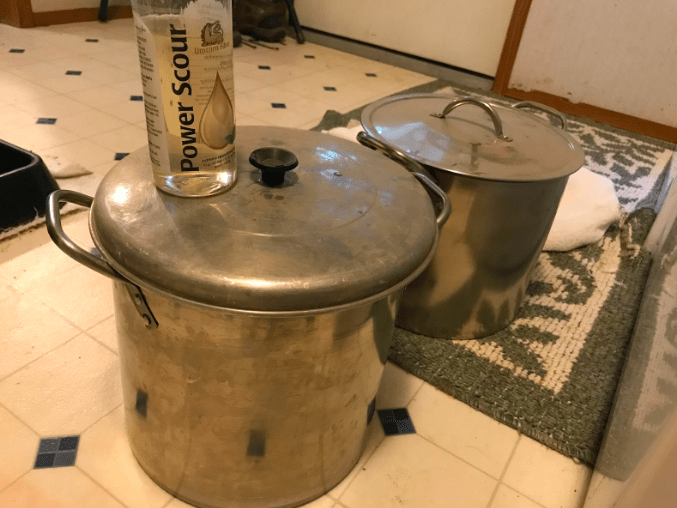
*2 large stock pots with lids
*Unicorn PowerScour; I bought mine on Amazon.
*distilled white vinegar
*hot tap water
*a basic kitchen thermometer
*a space to work; I prefer a bathtub for easy dumping of nasty water and easy filling of clean hot tap water.
*lots of time—seriously, like hours
Day 1
1. Shear the sheep. This is the part where I need the most help. I rely on my father-in-law and husband to do the dirty work. They have used both electric and manual hand-clippers and I find that the manual clippers allow for the fewest “short passes” where the fiber is cut twice (bad for fiber length; the longer the better to spin!) so I prefer this method, but I’m not the one who is spending all the extra time to hand-clip the sheep either 🙂
2. Skirt the fleece. This means to cut away all the yucky stuff that you’re not going to spin (i.e. belly fiber, short cheek fiber, poopy tail fiber, etc.) This fiber has lots of other uses, but isn’t good for spinning. More about that later…
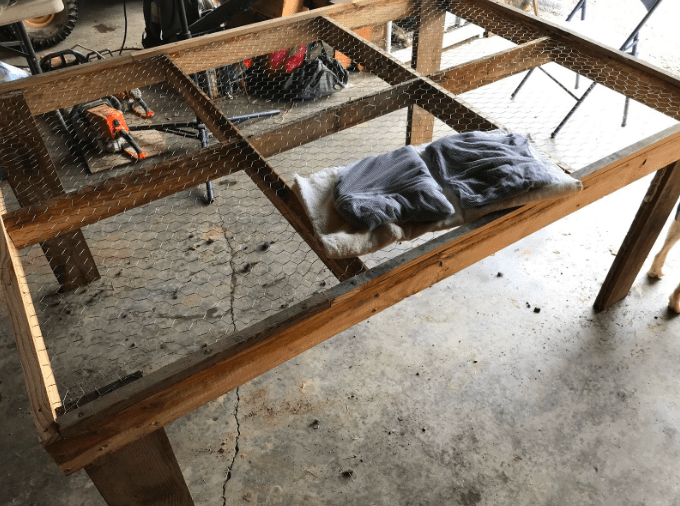
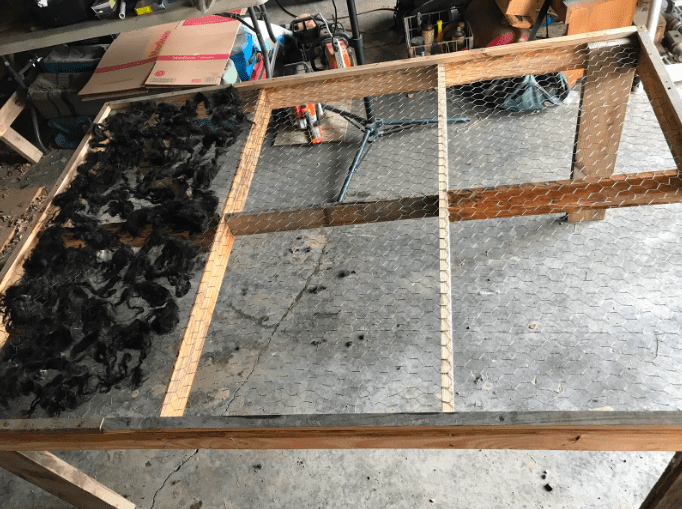
3. “Pick” the fleece. I don’t know if this is proper terminology, but essentially it just means to go through and pick out all the VM (vegetable matter) like hay, grass, cockleburs, etc. that the sheep may have gotten into the depths of the fiber. This is also the time to remove any “short pass” fibers that you don’t want to have to card out later. Experience has taught me that it is best to remove all of this stuff early on and avoid the hassle of having to clean it, card it, and remove it later anyway, or worse yet, end up with it pilling up your yarn! This is the drying rack that my husband built me with all of the freshly shorn fleece on it. This fleece has been skirted and picked. More details on how to build your own drying rack just like this one in another post.
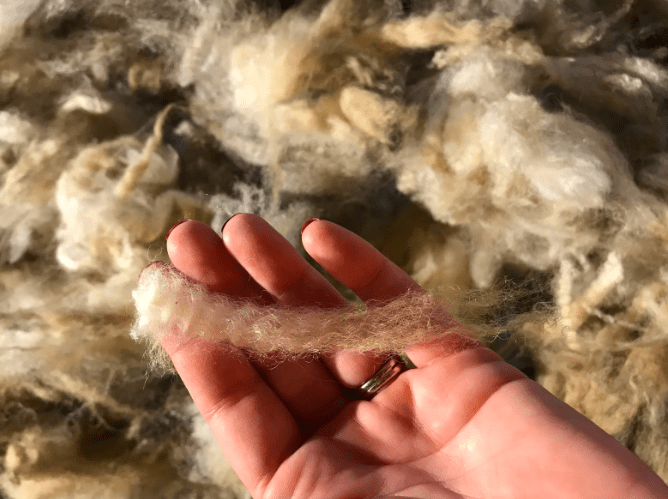
This is Lenny’s fleece. He is a Shetland yearling born in February of last year. It has a very soft, lofty feel to it.
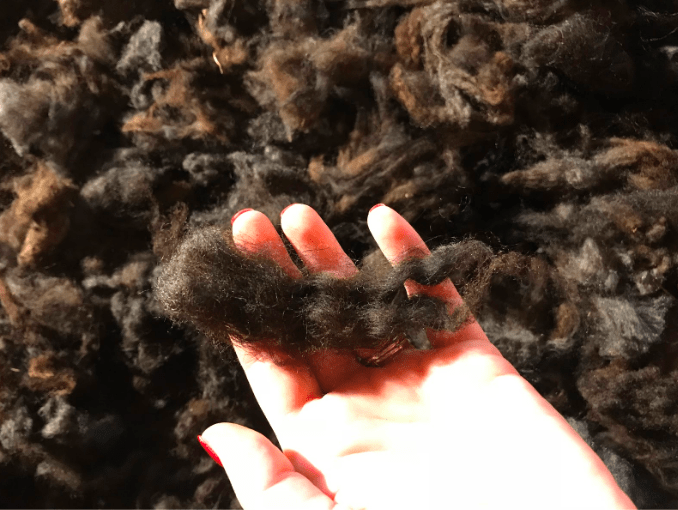
This is Lilly’s fleece (Lenny’s twin sister). It has larger crimps and is slightly coarser in texture.
Day 2
1. Clear out your entire day’s schedule 🙂 just kidding! But seriously, this is not a process that can be rushed at all. Patience is key.
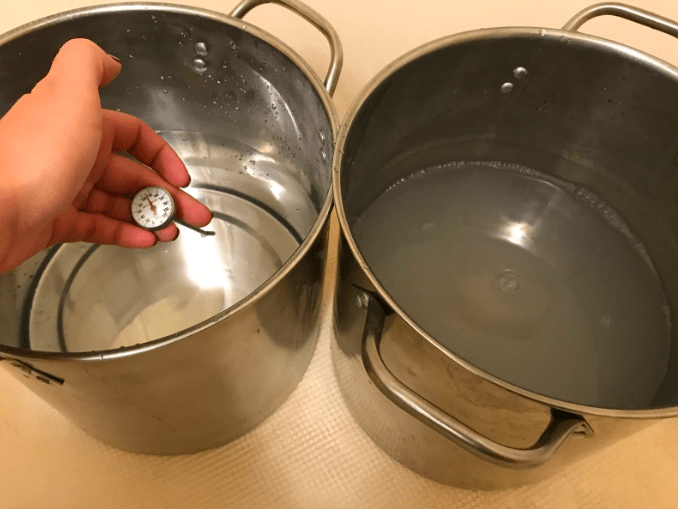
2. Fill 2 large pots with hot tap water (about 110-120 degrees F). I use stock pots.
3. Add about 1 tbsp Unicorn PowerScour to one pot and gently swirl into water, being careful not to create too many bubbles. Cover both pots.
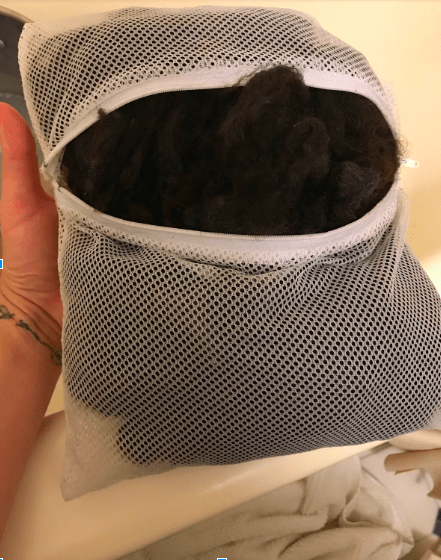
4. Fill a small lingerie bag loosely with wool that has been skirted and picked free of VM. The bag step is not absolutely necessary, but I find that it helps me to keep the wool in one single pile which allows for less agitation as I transfer it from pot to pot. Agitation is a big no-no as it will cause felting.
5. Add bag of wool to the pot with PowerScour and gently push down into the water. Cover and let sit for 15 minutes.
6. Gently lift soaked wool from first pot and gently squeeze out soapy water.
7. Add soaked lingerie bag into second pot of clean hot tap water and gently push down into water to rinse. Cover and let sit for 10 minutes. This step can be repeated if water is black or if you feel as if the wool is still very dirty, but for most cases one rinse at this stage is sufficient.
8. Gently lift soaked bag of wool from second pot and gently squeeze out rinse water.
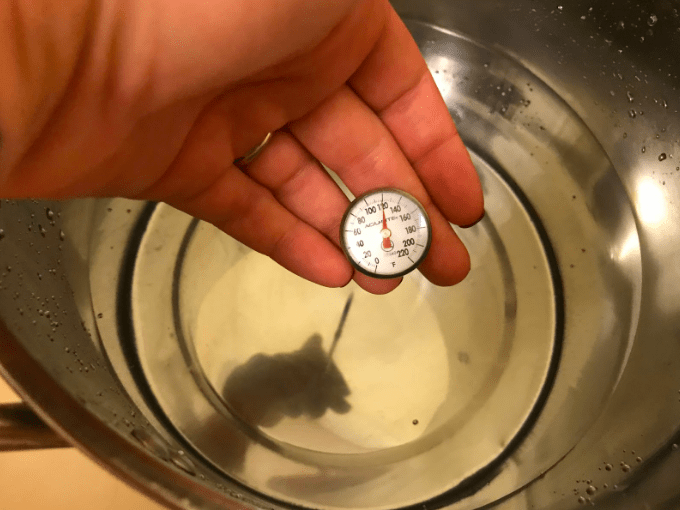
9. Lay wool onto clean towel as you empty your 2 pots and refill them with hot tap water at a similar temperature to the water you removed them from or slightly hotter. I use a thermometer to be sure. Adding wool into cooler water will cause it to felt—that’s the second big no-no if you’re wanting to spin it into yarn, but the good news is that if you really mess up and end up with felt, there’s applications for that too so don’t throw it out!
10. Add a glug of white distilled vinegar into first pot. The vinegar is used to soften the wool and get rid of any soapy residue left behind. More info later about the science behind using vinegar in this step.
11. Add soaked lingerie bag into first pot of vinegar water and gently push down into water to rinse. Cover and let sit for 5 minutes.
12. Gently lift soaked bag of wool from first pot and gently squeeze out vinegar water.
13. Add lingerie bag into second pot of clean water and gently push down into water to rinse. Cover and let sit for 5 minutes.
14. Gently lift soaked wool from second pot and gently squeeze out water.
15. Remove wool from lingerie bag and spread out gently into a thin layer on a drying rack for 1-3 days depending on weather.
16. Repeat all of the above steps until you have processed your entire fleece. I break my yearling fleeces up into 9 small lingerie bags (I use the same 3 bags over and over again because by the time one is ready to wash another is ready to dry and can be removed from the bag). Larger fleeces will require more sections. This is where that patience comes into play 🙂 Enjoy the process and don’t rush it!
Disclaimer: There are other methods to all of these steps. This is what has worked for me and is a combination of things I have learned the hard way, things I have learned from others with lots of experience, and good ole’ Google. The biggest thing to remember is that your first fleece might not turn out how you wanted it, but you will learn so much through the process and will be better off next time 🙂 Don’t start out with uber expensive Angora fiber! Start out with something that is ok to “mess up”. However, that being said, starting out with a disgusting poop-covered fleece that’s been sitting in some farmer’s shed for 5 years might not be the best either as this will be a frustrating endeavor—take my word for it! Settle for a happy medium. Maybe a relatively clean mid-price fleece from a fellow fiber community member would be a good start.