
Making a Gossamer Felted Scarf
I was curious. How thin could I make a wet felted scarf and still have it be durable? I’ve been playing with Nuno felt, which has a woven silk fabric as the base of the project, with wool felted into the silk for texture, warmth, and softness. But wool makes a durable and soft fabric all on its own if it’s felted. I set out to make a gossamer thin wet felted scarf, and I’m really happy with the results.
Here’s how I did it:
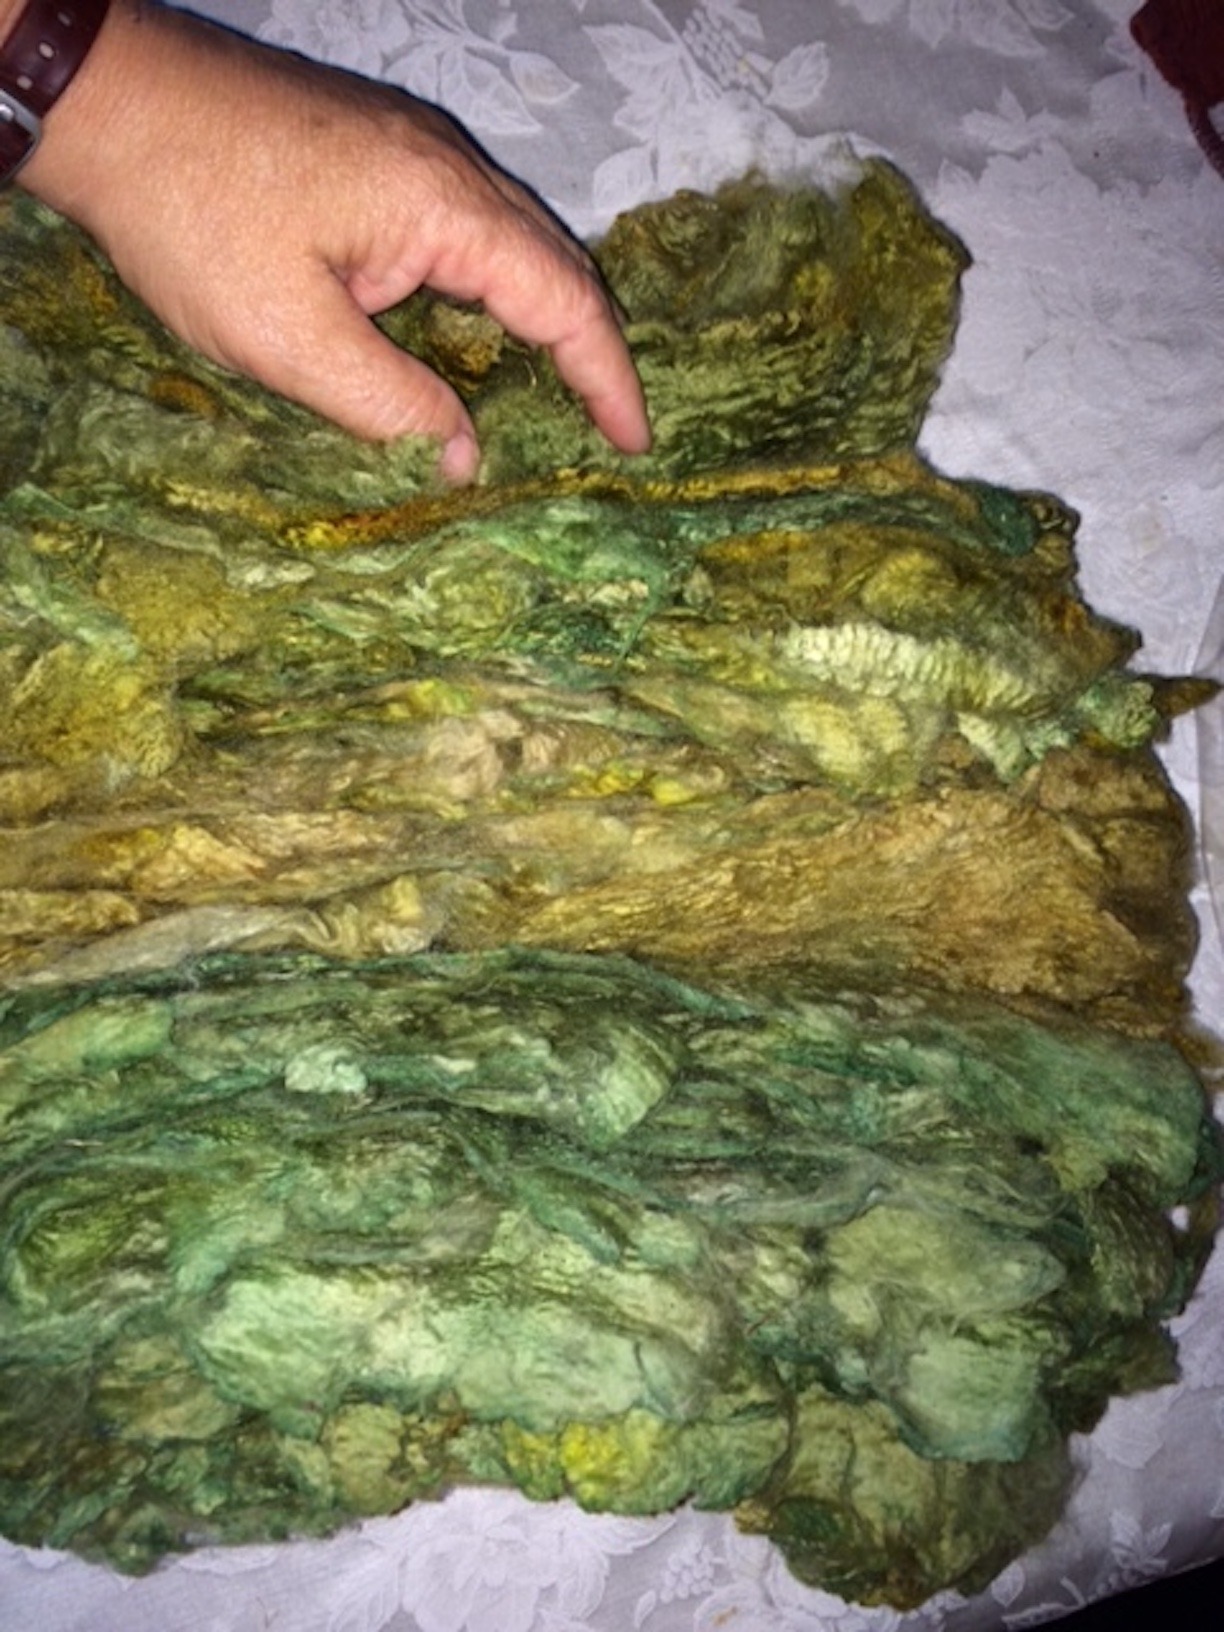
- I lay out the first layer of black dyed Merino wool on a surface at a height where I can work without bending over (in this case it’s Grandma’s sturdy metal ironing board) covered in plastic (which today is just a picnic tablecloth in a lovely shade of purple.) There is a piece of window screen between the plastic and the first layer of scarf. You don’t have to have this, but it makes life easier if you want to flip the dry wool layout over and add embellishments to the surface that is currently on the underside.
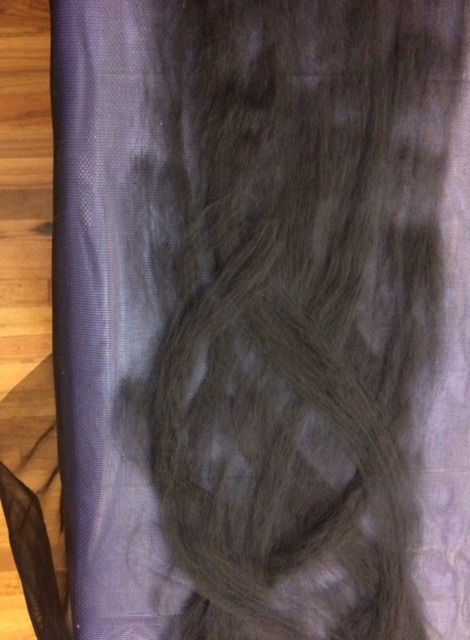
I try to lay out long stretches of drafted (thinned) roving, undulating and crossing back on itself over the length of the scarf. This provides a pretty strong base for the felt, giving it another layer to grab onto even if there aren’t lots of layers in this thin fabric.
The very best wool to use for this type of felting happens to also be the world’s softest sheep wool– Merino. It will be perfectly fine next to all but the very most sensitive necks. Merino is often used for baby garments, it’s so soft!
2. I begin to add embellishments in a contrasting color. I wanted cool colors, mostly, with a little pop of bright raspberry dyed silk fabric bits here and there. I frayed the bits intentionally, to give the wool an edge to grab onto, to look interesting if they stuck out anyway, to draw up the fabric a little to add some pucker to the bits, and to get some pretty silk threads to add to the embellishments.
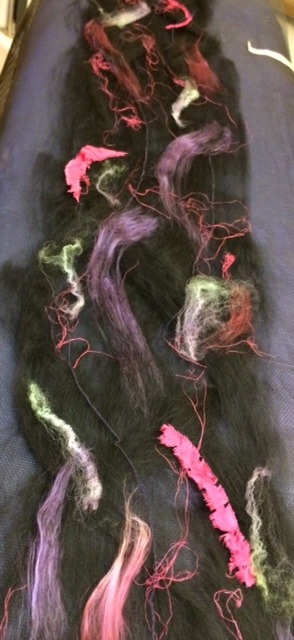
3. I added some Merino/Silk roving dyed in purples and raspberry reds over the surface. The Merino in this blend will felt and shrink, which will pucker the silk for the end product. Silk doesn’t felt and doesn’t shrink, so it needs wool to tie it down into the fabric. There are also a few bits of silk/Merino handspun yarn added here and there.
4. I added some locks of Merino wool, spread out a little but mostly left intact so the natural crimp would be accentuated as it felted.
5. I added some stretches of dyed Merino combed tops over all the silk bits, for color and to tie them down a bit. I also added a very, very thin layer of the black Merino over the fabric bits, just to make certain they had some wool to grab onto them and hold them in as part of the fabric. Just like I did with the black Merino for the first layer, I placed long stretches of very thin wool over the surface. 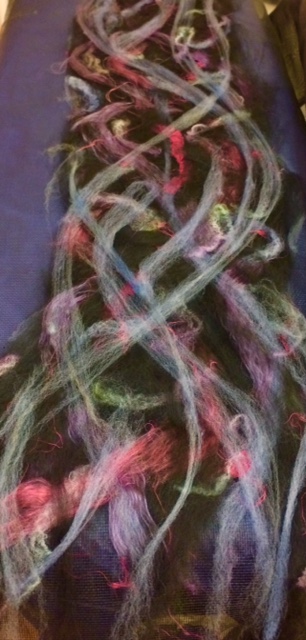
6. I flipped the whole thing over, and pulled back the layer of window screen it was on, exposing the underside which was still all black. I added my layers of colorful embellishment on that surface, too, and began to felt.
7. I don’t have pictures of the felting process, for several reasons. Partly because this isn’t really a tutorial on wet felting– I’ll do that another time if I have any requests for it; mostly because my hands are all soapy during that process and it’s not good for the camera. Short version of this step: Get the whole thing wet with hot water, and then soap it up and start agitating the surface. I usually listen to an audiobook during this part, or just chant “wax on, wax off” or “abracadabra” a lot. When I feel like the surface is holding together pretty well, I roll up the scarf in a piece of bubble wrap from the dollar store. (Yay, Dollar Tree!) I roll it and squeeze it and listen to my book some more until my hands can’t stand it. Then I re-roll it with the other end in the middle and roll and squeeze and listen some more. I should probably try music instead of the book for this part. Rhythm might help, because it can get pretty tedious. When it’s all felted and solid-feeling I slam it against a table top a few times for good measure, rinse, and declare it to be a scarf!
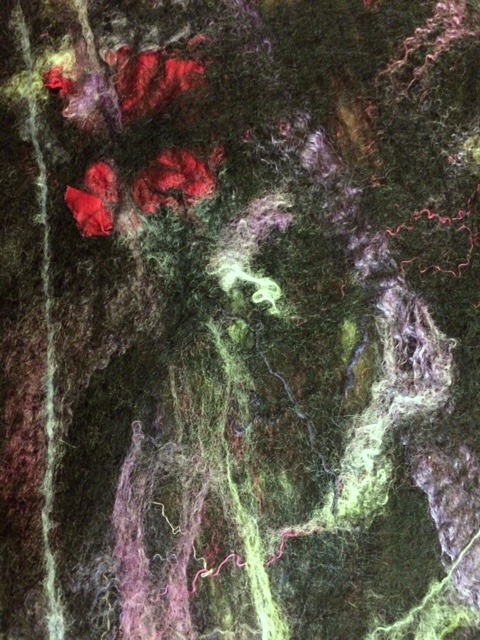
Here is a detail of the Merino locks and silk fabric scraps. I love the way they pucker up and look textural, but they’re an integral part of the fabric.
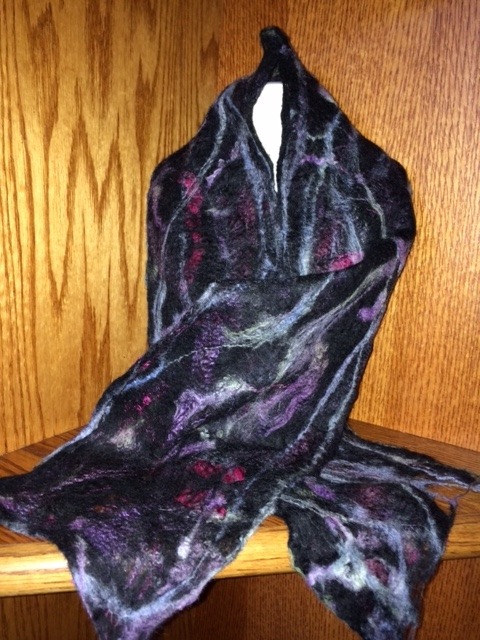
Here is a picture of the finished scarf against a window, so you can see how gossamer thin it really is! 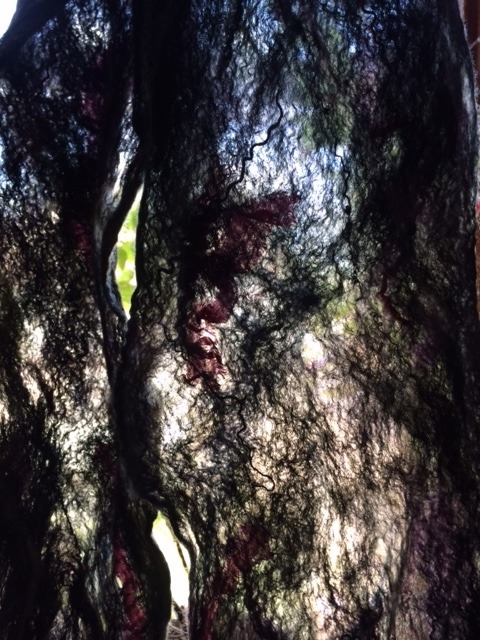
This was a fun project for an afternoon. If you’d like to give it a try, I included links to buy the Merino and Merino/silk blends from Amazon. Check out the ads at the top of the page, and use them, please! The small commission I get from ads on my blog is the only pay I get at this time for sharing information with you. Thanks!
Please leave comments below! I’d love to hear if anyone tries this project.
Copyright © 2018 Kelley Adams. All rights reserved.
All text, photos, and graphics are the property of Kelley Adams unless credit is given to an alternative source.


It’s lovely, but it looks very fragile. Is it stronger than it looks?
Yes! I’d be careful not to snag it, but it feels amazingly strong to the touch. Soft, but solid.