
Handpainted Warps
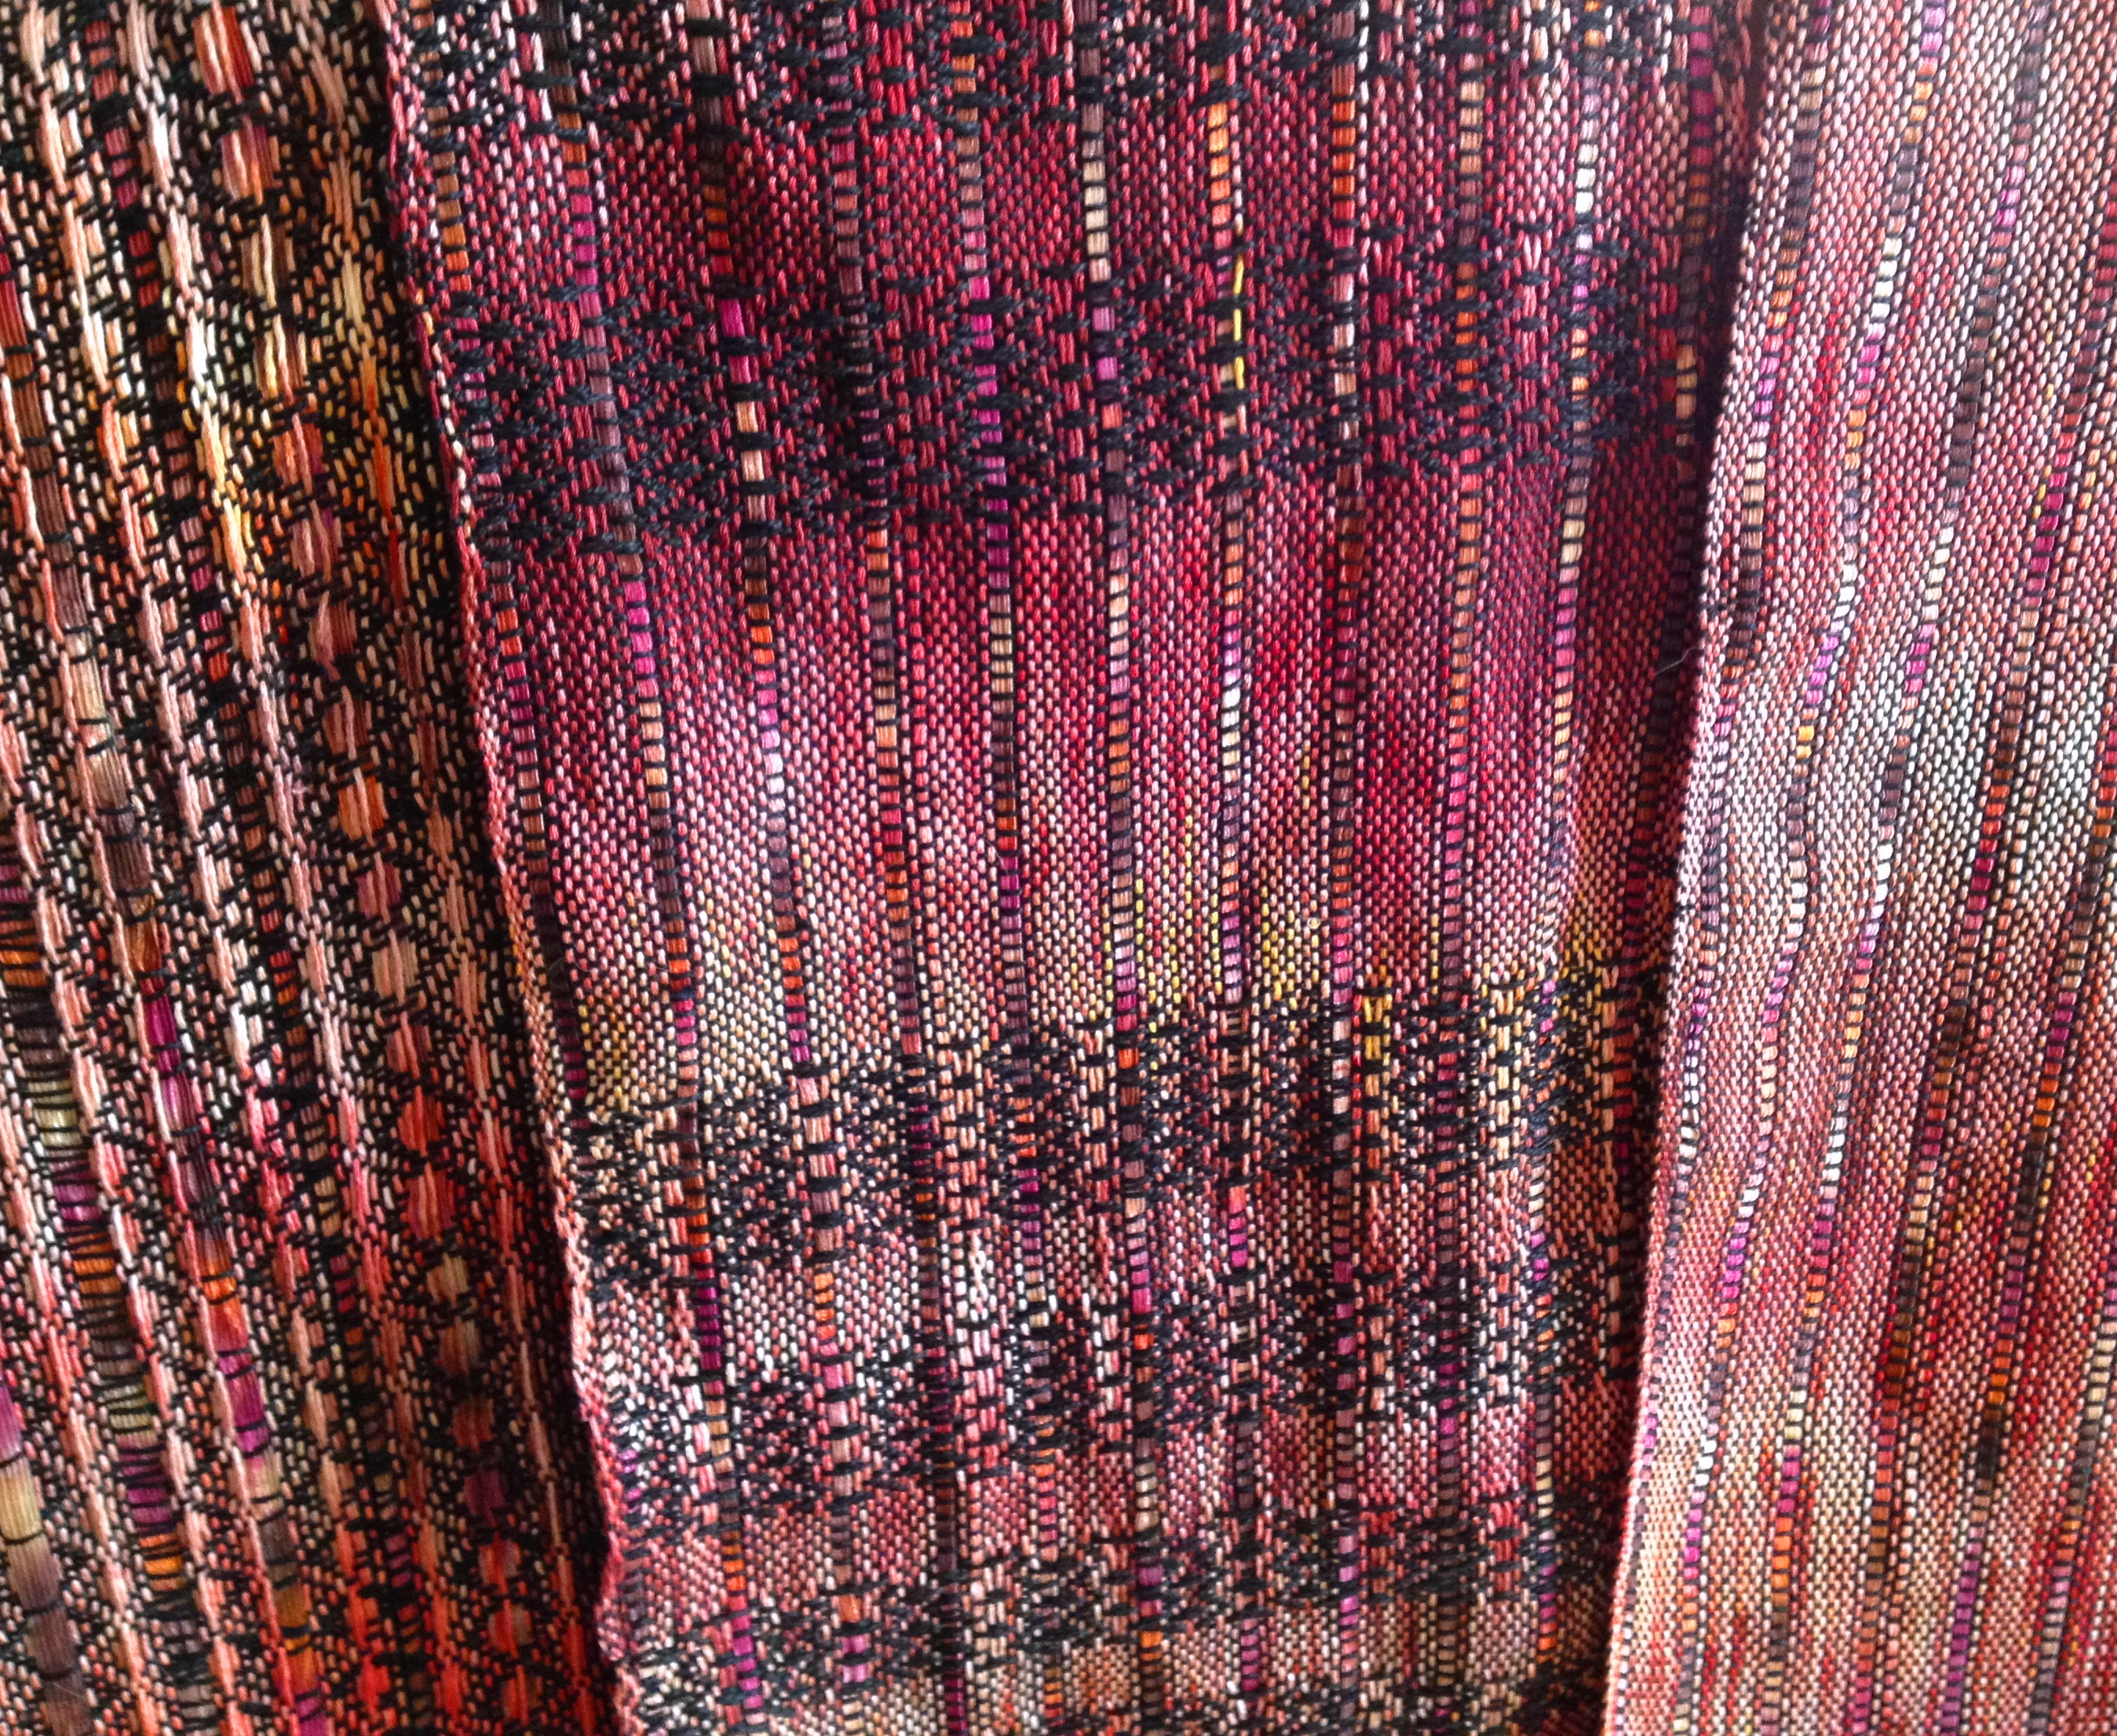
Three samples of weaving using a handpainted warp. Commercially dyed ribbon accents add character. This was all the same warp, with different treadling patterns.
I remember being shocked at the price tag on a set of room dividers at a Handweavers Guild sale. It was over three thousand dollars for the pair, and that price tag drew gasps of either shock or admiration. I overheard one person say, “Who does she think she is, asking that kind of price?” The person she was talking to answered sincerely, “Those are handpainted warps! Of course, she should ask that much!” I decided then and there that I should learn how to make these handpainted warps that were so valuable.

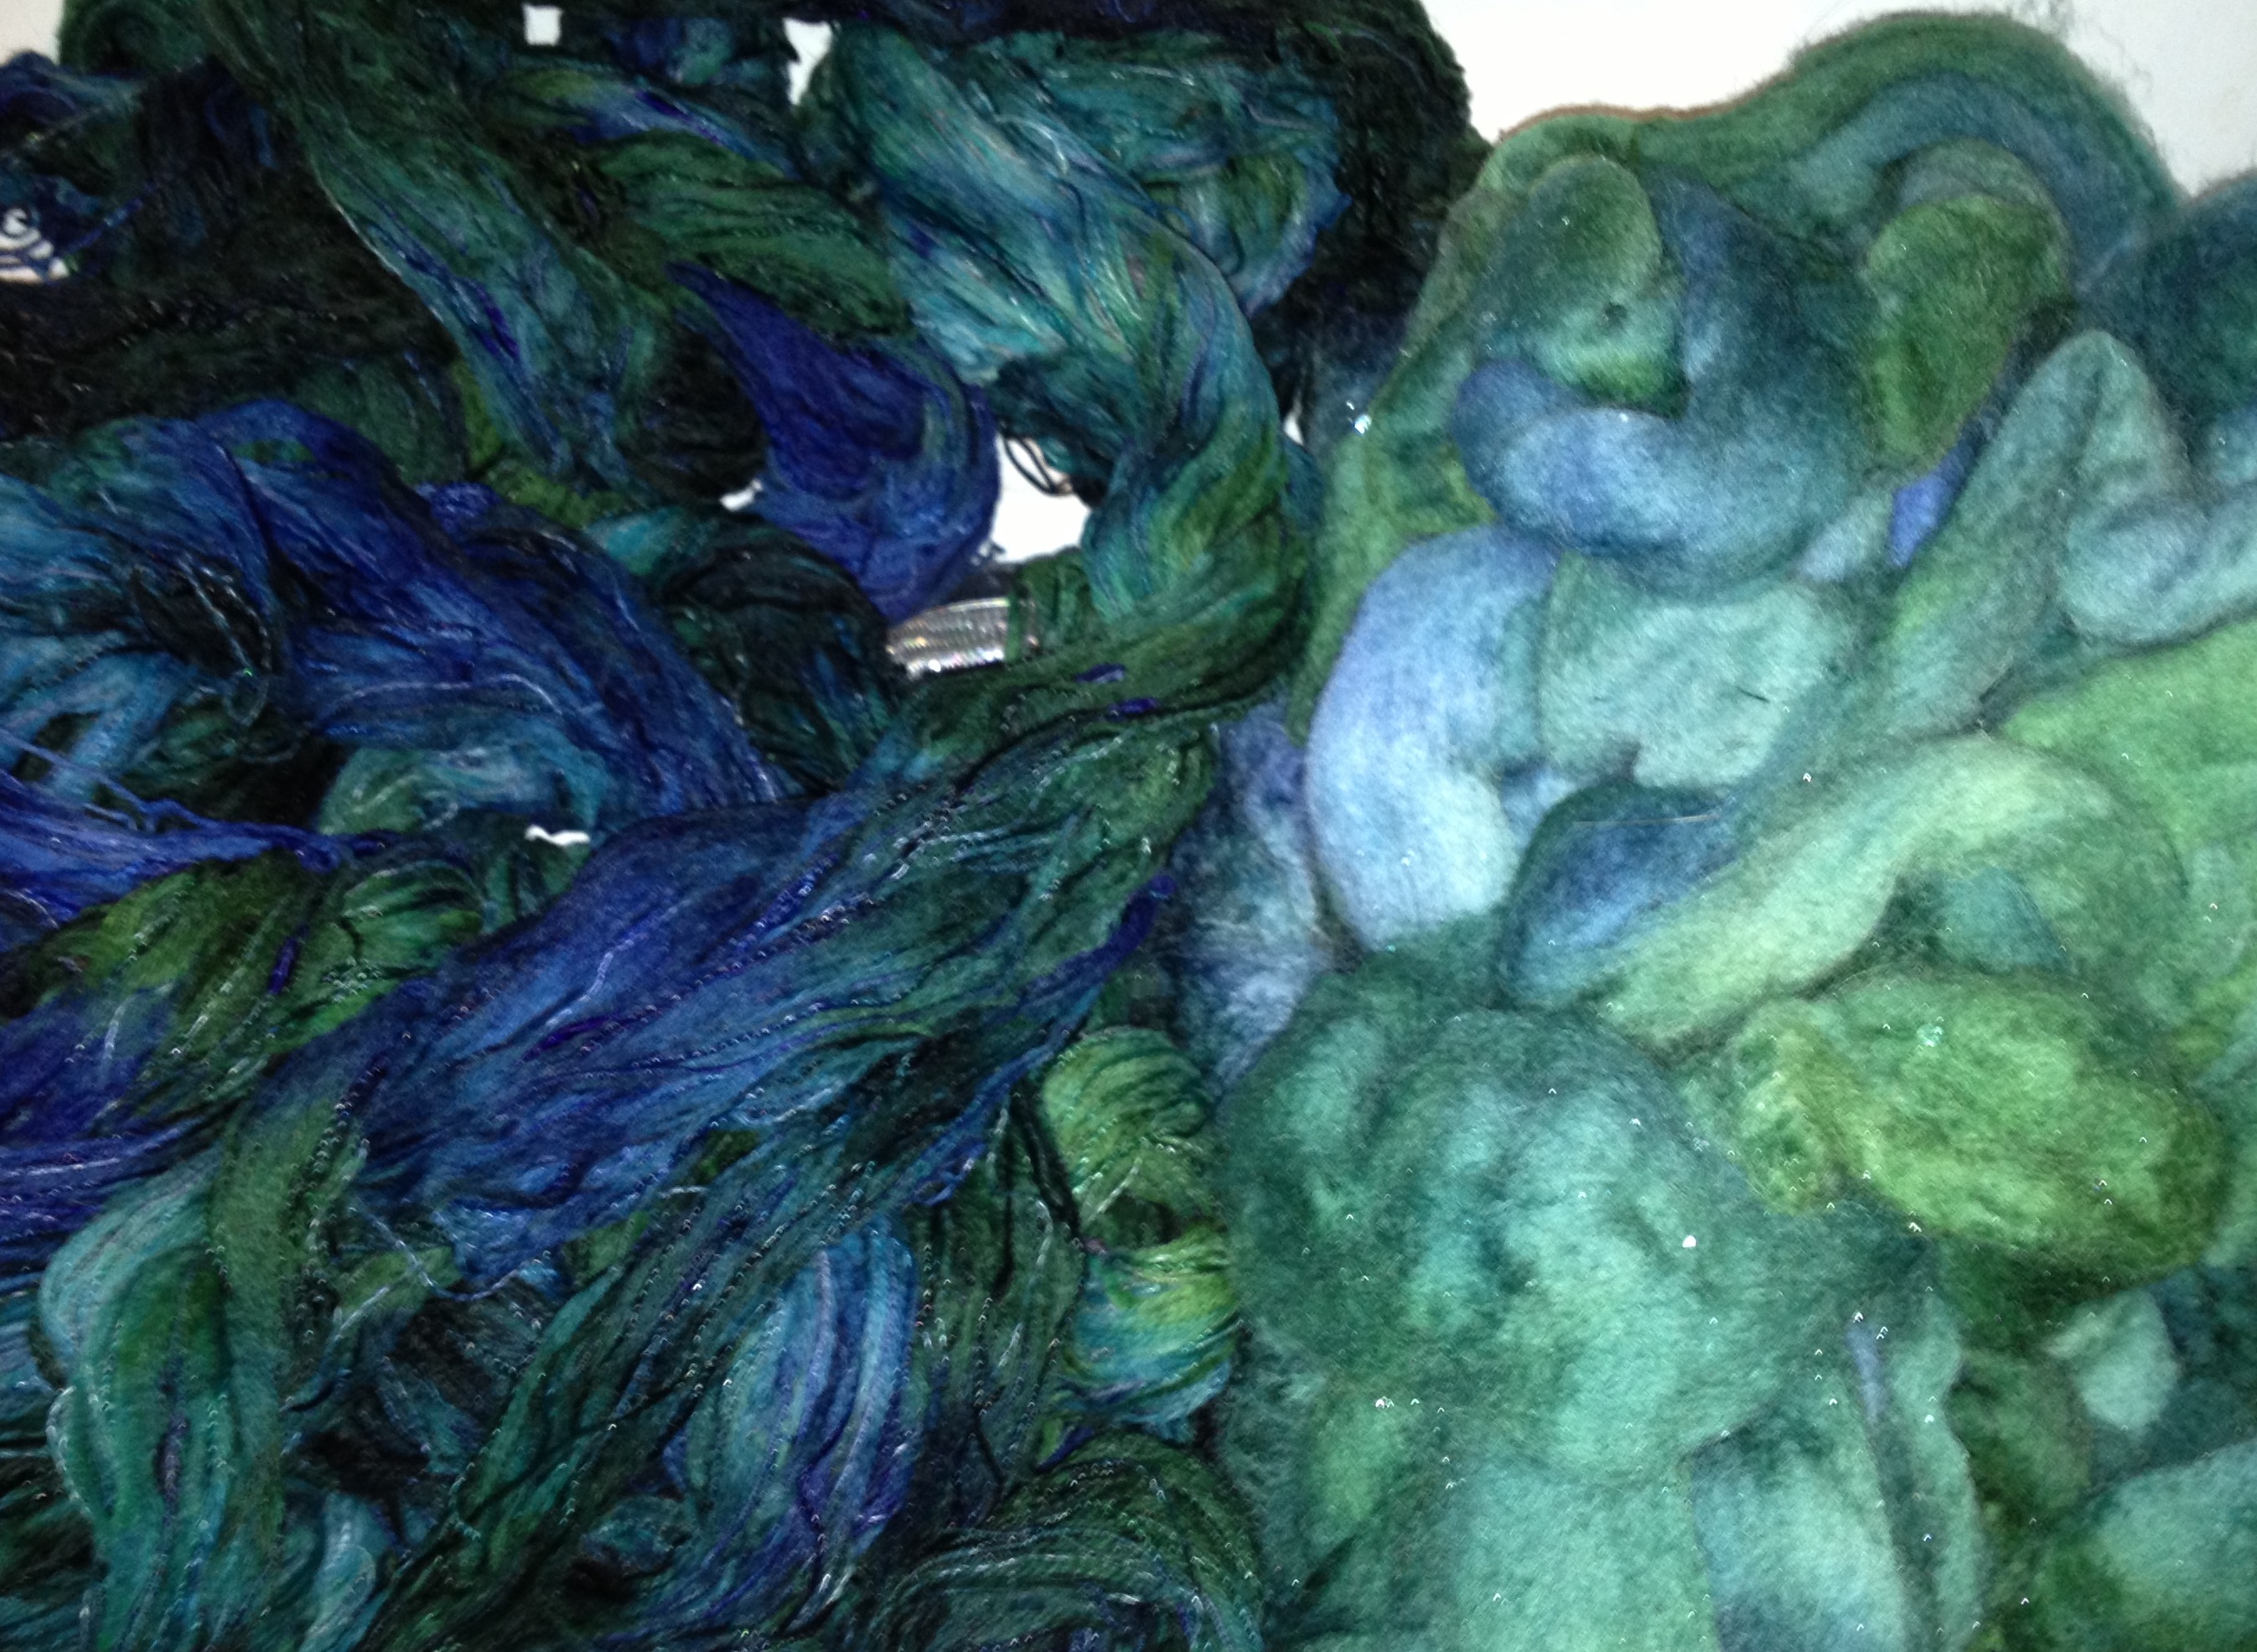
Two different warp chains, and matching wool roving dyed in the same lot.
The truth is, they’re easy to do. Not that I’m against artist asking a high price for their creativity, because far too many of us are far underpaid. But those handpainted warps weren’t all that difficult. They were just one of a kind, which makes them special.
My method is simple. I have a chain of pre-measured warp threads, soak it for about 15 minutes in hot dishwater. I like Dawn dish detergent best– it is gentle on fibers but always cuts through any grease or starch that may be on the threads.
When they are thoroughly soaked, I lay them out in an old baking dish which I reserve for dyeing now. Be certain the fibers are thoroughly wetted. If they aren’t, you’ll have stark white patches in your warp where the dye didn’t penetrate. There is no need to rinse the detergent. In fact, it seems to help the dye penetrate the yarn.
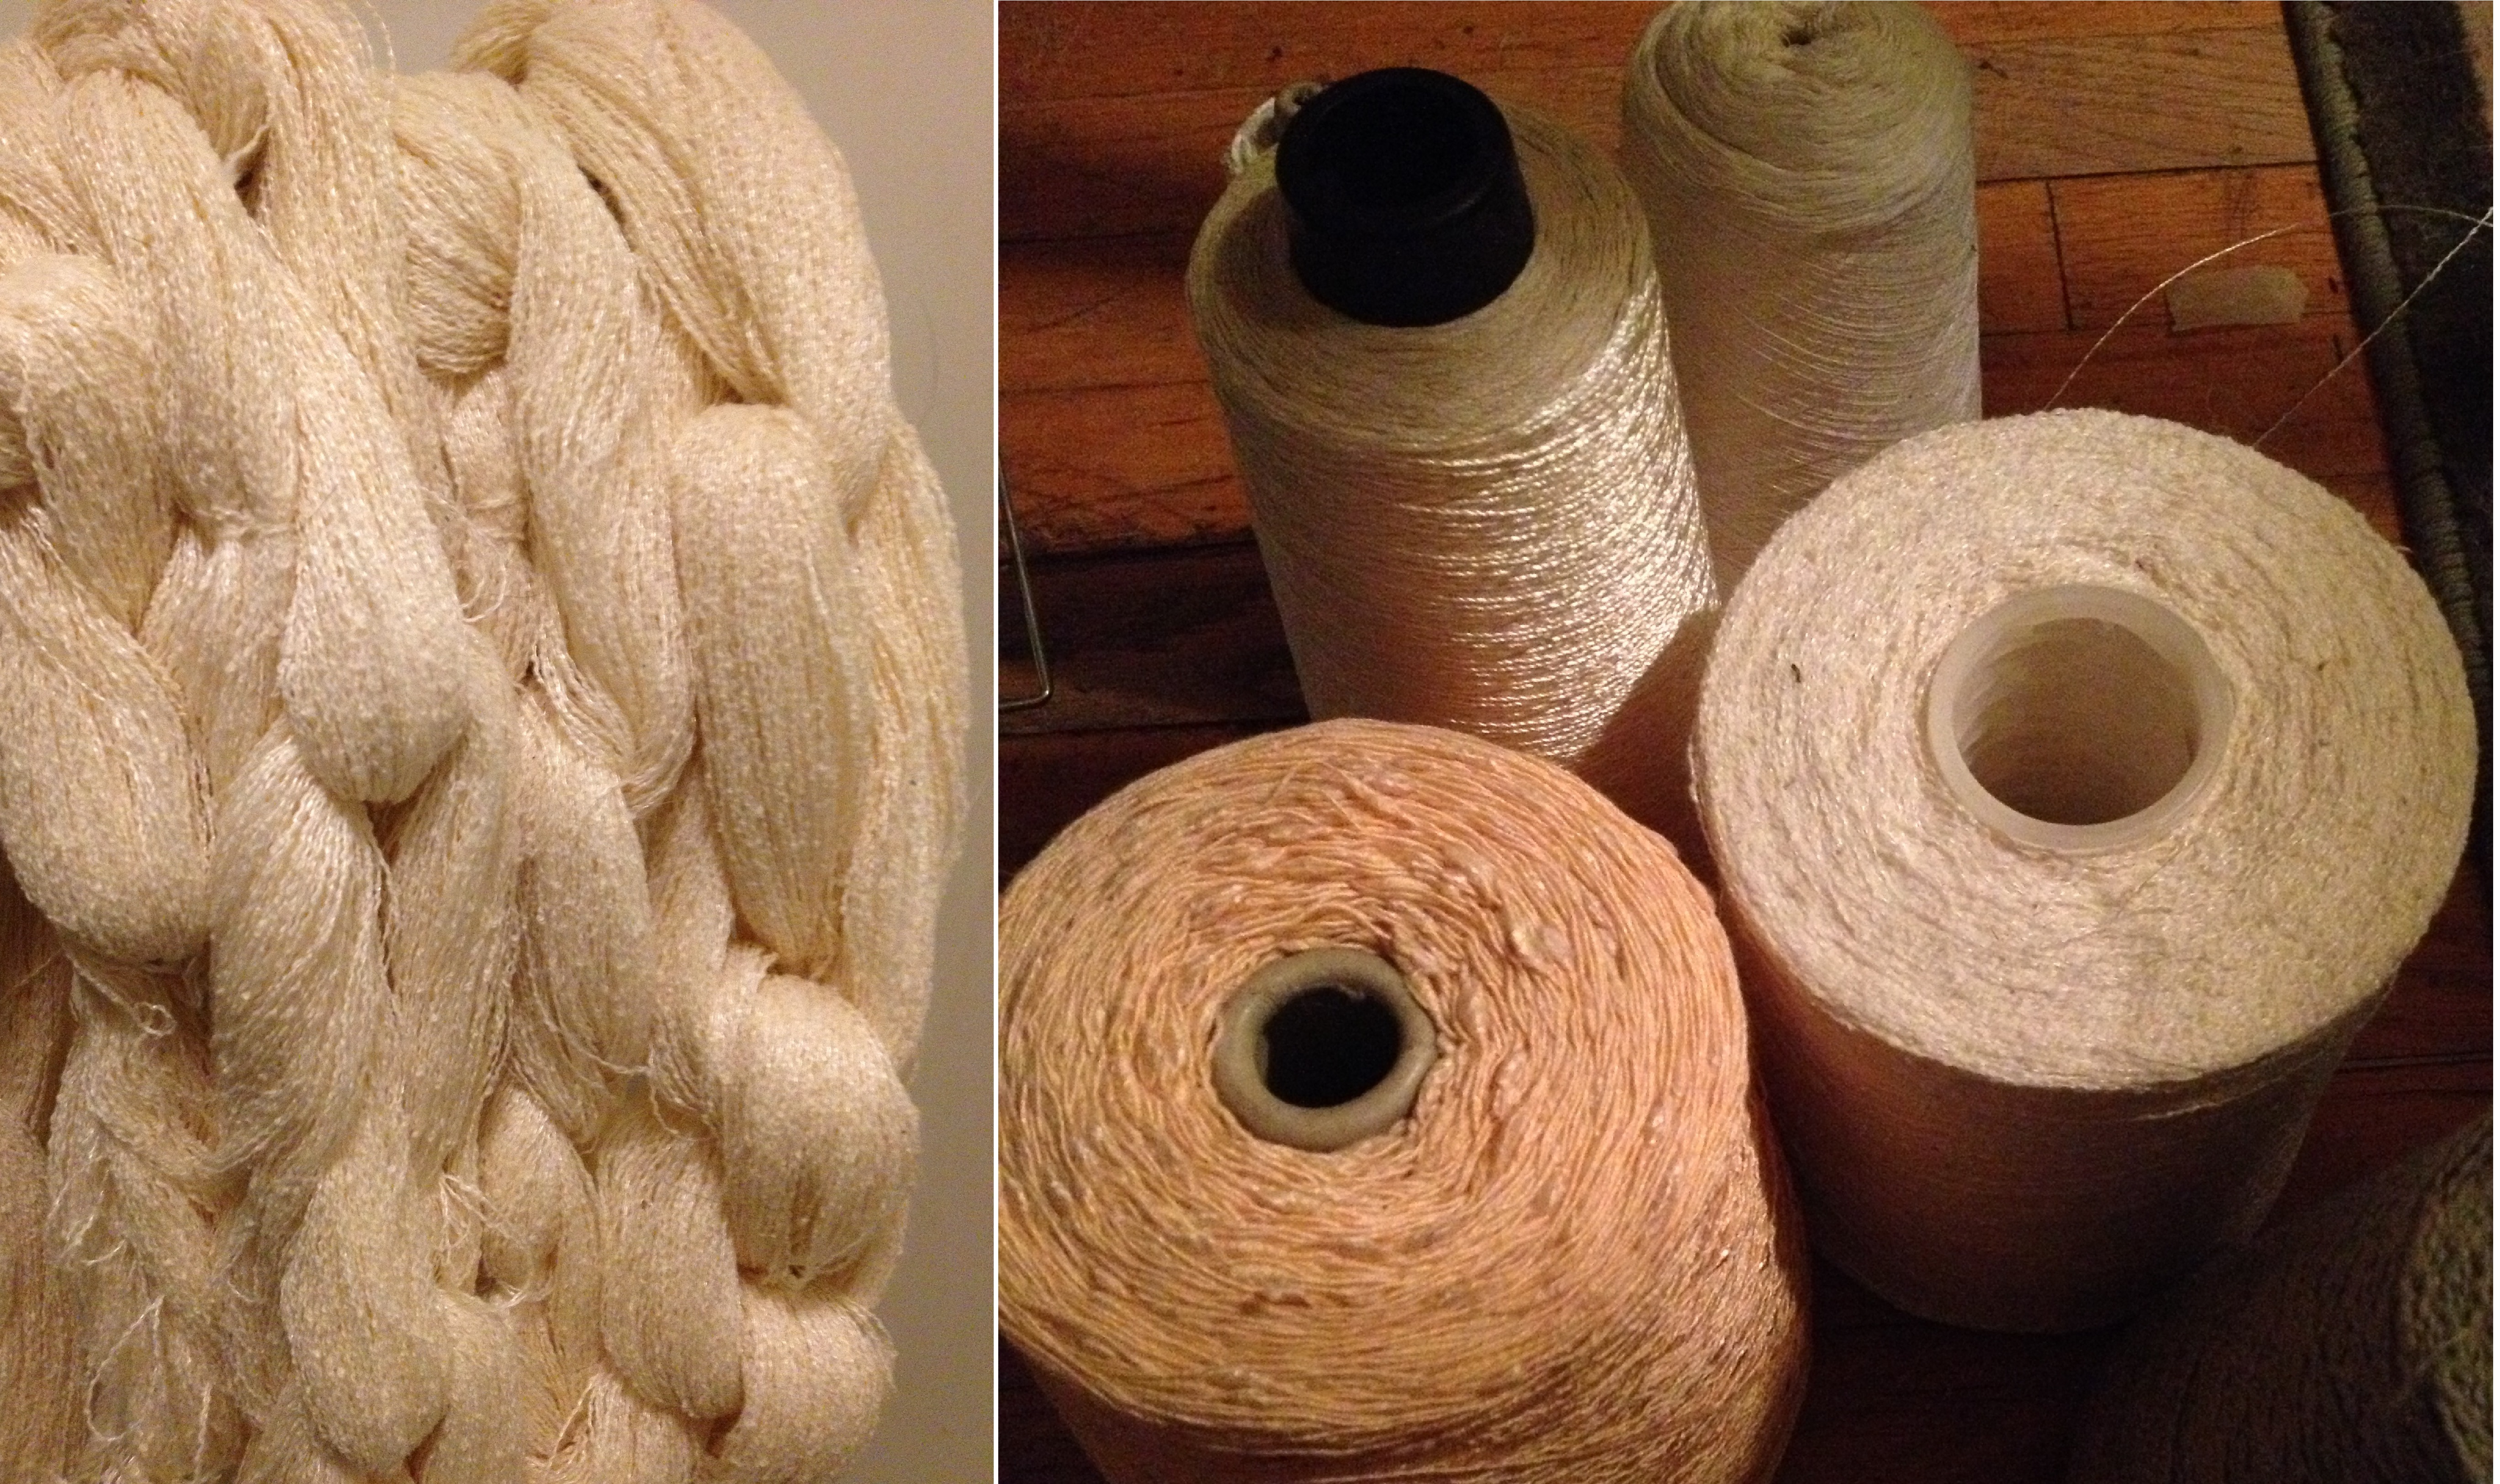
Mill ends and a warp chain
The chain is laid out, then water is added to half the depth of the fibers. Sprinkle dye powders over the fiber. I like a diagonal pattern. It’s going to be very random in the end, once the crocheted chain of fibers is unwound and warped on the loom. With a rubber-gloved hand, I flip the chain over, making sure that there aren’t pockets where it is resisting any color. Sprinkle more powdered dye on top. With the glove on, squeeze gently if there are pockets refusing to take any color. You don’t want to disturb the fibers too much, or it will go homogenous and all the color stripes will blend into one color. If you are dyeing wool roving in this, don’t squeeze. It is too easy to felt it, especially if you still have any dish detergent in the water.

Chain laid out in the pan, with dyes in stripes.
You can see how this baking pan has dye on the edges which have become permanent. No matter how carefully you wash it, a pan used for dyeing is never food safe again. Keep them in a separate place from your kitchen pans, or mark them with a permanent marker or duct tape. All utensils used for stirring dye should be kept separate from food utensils, too.
This batch used Rit dyes in Rose, Sunshine Yellow, and Golden Orange. A lot of dye purists don’t like Rit, because it is an all-purpose dye ready to add color to any type of fiber. It’s a simplified explanation, but this basically means that if you are dyeing cotton, the portion of the dye which would also dye wool isn’t being used and will get flushed down the drain and wasted. I get over this problem very simply. Every time I dye a warp, I also dye a small batch of wool roving, and usually a piece of silk fabric, too!
The warp threads are generally cotton or linen or rayon, which are cellulose fibers. The wool and the silk use the portion of the “union dye” that’s for protein fibers. When I’m done, I reserve the liquid and dye at least one more batch of fabric, using as much of the color as possible before declaring the dye bath “exhausted.” I love Rit. It’s easy to find, comes in great colors which can be mixed together, has the option of a liquid form or a powdered form, and can be purchased with ease online.
If you don’t want to use RIT, a fiber reactive dye will work with this method as well. You will need soda ash fixative, and I recommend that you only use it for cellulose products. (No wool roving in this batch, which won’t take the dye well and the fibers can be harmed with soda ash.
Cotton rayon warp threads and Wool roving being rinsed in the sink.
Place the pan into the oven and bake at about 220 degrees Fahrenheit for about an hour. A little longer doesn’t hurt, but don’t bake the poor fibers all day in there. When done, pull out the pan and use tongs or a rubber-gloved hand and carefully remove the fibers into the sink for rinsing. Try to reserve the liquid in the pan. There is almost certainly another round of dyeing to be done with that, sometimes revealing an entirely different tone! Rinse your fibers in the sink, carefully not disturbing it too much which can cause tangling in the warp threads or felting in the roving. Use the hottest water you can stand. The yarn just came out of a hot oven, and sudden exposure to cold water can shock and damage the fibers.

Rinsed fibers draining in the shower.
After rinsing, hang the fibers over the shower head, over a doorknob with a pan on the floor to catch drips,
or over a balcony outside. Don’t drip on the neighbors, if you live in a multi-story apartment.
When I dye a batch of warp like this, I often layer it with some wool roving. I love to see how the color it picks up is just slightly different. Dyed at the very same time, with the very same batch of dye, it shows how the different fibers react differently to the dye. If I happen to have some undyed silk habotai fabric lying around, I’ll put a piece of it on top of the layers of fiber and dye it, too. It never gets old, seeing the serendipitous patterns that show up. Check out my blog post on my No Worries Dye Method for more about this.
This method of dyeing is sometimes called “space dyeing,” or “kettle dyeing.” Handpainted warps can be made with this method or a much more controlled painting of warp threads, painting a specific picture while the warp is already stretched on the loom. This random variegation, however, is the same kind of handpainted that was on the $3,000 room dividers I saw all those years ago. I can’t wait to weave up these warps!

One day’s dyeing.
Copyright © 2015 – 2023 Kelley Adams. All rights reserved.
All text, photos, and graphics are the property of Kelley Adams unless credit is given to an alternative source.


What an excellent and awesome way to dye warp chains — which are so expensive to buy! And, what a great way to use mill ends — they so often come in really ugly colors. Thank you for sharing your technique with us!
Thank you for posting this. RIT dye is so readily available and not very expensive and they have videos and a “studio” web site but they have, pretty much, nothing on working with yarn. This blog post is wonderful. I have a question about using it on cotton with wool at the same time. Wouldn’t you have to add vinegar as a mordant if you’re doing both protein and cellulose at the same time or will it dye the protein fibers with just the salt as a mordant? I think their site says to add vinegar as the mordant for protein fibers. They also claim that if you wash the equipment well with bleach and Comet, that it’s safe to use again for cooking, etc. Thoughts on that?
You know, I’m gonna confess something here. I don’t think I’ve ever read the instructions on a RIT package! 🙂 I’ve been using it since I was a kid, and my mom never added vinegar, so I didn’t. Thinking about it, she was dyeing curtains and cotton or rayon fabric. In general, you’re absolutely right– protein fibers take dye better in an acidic bath, where cellulose works better in a sweeter dye bath. But experience tells me it works, so I’m going with that. I haven’t had any bleeding or fading with any of the fibers– protein or cellulose. Wool tends to pick up the colors with a slightly toned down color, but mohair is just as brilliant as cellulose in the same dye bath. Now I’ll have to try a controlled experiment to compare. Anybody else tried protein fibers with no vinegar? (I’m really just trying to tell if other people read the instructions. hehe )
As for cleaning the utensils and using them again, I can’t offer a scientific opinion. I always keep pots and spoons just for dyeing anyway, so I haven’t tried deep cleaning. I suppose stainless steel could be cleaned adequately, but I’d worry about any other kind of pan. Better safe than sorry!
1) how do you “fix” the dye for the cellulose fibers?
2) I’ve been told baking dyed warps in the same oven you eat is a health hazard. Do you know if this is true or how do you avoid the hazard?
Devorah, First, be forewarned that I’m not a chemist. Some dyers are, and they really know this stuff at the basic level! Everybody, chemist or not, seems to have an opinion about the “right way.” I write about the way that succeeds for me. I use caution with dyes, like any science lab. Rubber gloves (I admit that I occasionally forget until it’s too late), dust mask, and designated tools and containers are basic precautions for me.
1. Since I usually use Rit dye, which is a union dye and so is formulated for both cellulose and protein fibers, I don’t add any other fixative. People often add table salt to their Rit dye to help it take. I’ve also recently heard of someone adding alum. (Although this strikes me as redundant, and probably gets flushed down the sink anyway since the dye already includes the metal salts necessary for it to work.) I rinse both cellulose and protein fibers in very hot water with Dawn dish detergent. (Be sure not to agitate protein fibers.) Then I rinse again in hot water. A lot of color often bleeds off into the sink, but there is still plenty of color in the fiber. Using both protein and cellulose in your dye batch reduces the amount of color that is flushed away with union dyes like Rit. I rinse repeatedly, with increasingly cool water, until it runs pretty clear. Don’t shock the fibers with sudden temperature changes. I do a second- to-last rinse with about half a cup of cider vinegar in cool water, and let the fibers soak for about 15 minutes. This vinegar rinse has always worked for me, and I don’t have bleeding later after using my fiber. Final rinse, I usually add a few drops of essential oils to discourage wool moths and to rinse out the vinegar.
2. As to the safety of using a home oven: I do hobby dyeing only. If I were dyeing on a daily, or even weekly basis, I would get a designated oven for that. My thinking is that a little dyeing can’t be worse than using oven cleaner. (Have you ever read the caution labels on that?!) If there are people reading this who are chemists, and actually know if metal salts in the tiny amount used during dyeing are volatile and can transfer to food, please let us know. (Asking a chemist friend now. I’ll let you know if he has an answer.)–Kelley